

It’s been over a year since I last posted on this blog as it has been quite a stressful time for various reasons, that have kept me from my creative pursuits. I guess many of us go through difficult experiences that take over our lives and where we devote extra time to solving aggravating problems before they get completely out of control. Such annoying situations are also very disruptive to our creative flow so that when we have time to get back to these activities it is not always easy to start again and we need to find ways to break through any blockages.
As I said in my last post, a new puppy entered my life at the end of 2022. In the beginning he seemed like your normal, energetic Fox Terrier puppy, and we used the tried and true training methods that had worked with all our previous dogs. Initially he seemed to be responding well but this did not last for long. He started to constantly bark every time anyone left the room or house and at anything that moved outside and began to ignore any of the instructions he had been taught. We knew he was going through adolescence, which meant that he had more difficulty in concentrating during training sessions. However the destructive biting of timber doors and furniture, as well as running like a mad thing around the garden then coming inside and bouncing from ottoman to sofa to lounge chair was rather extreme. It was like watching a sped up dog in a cartoon .

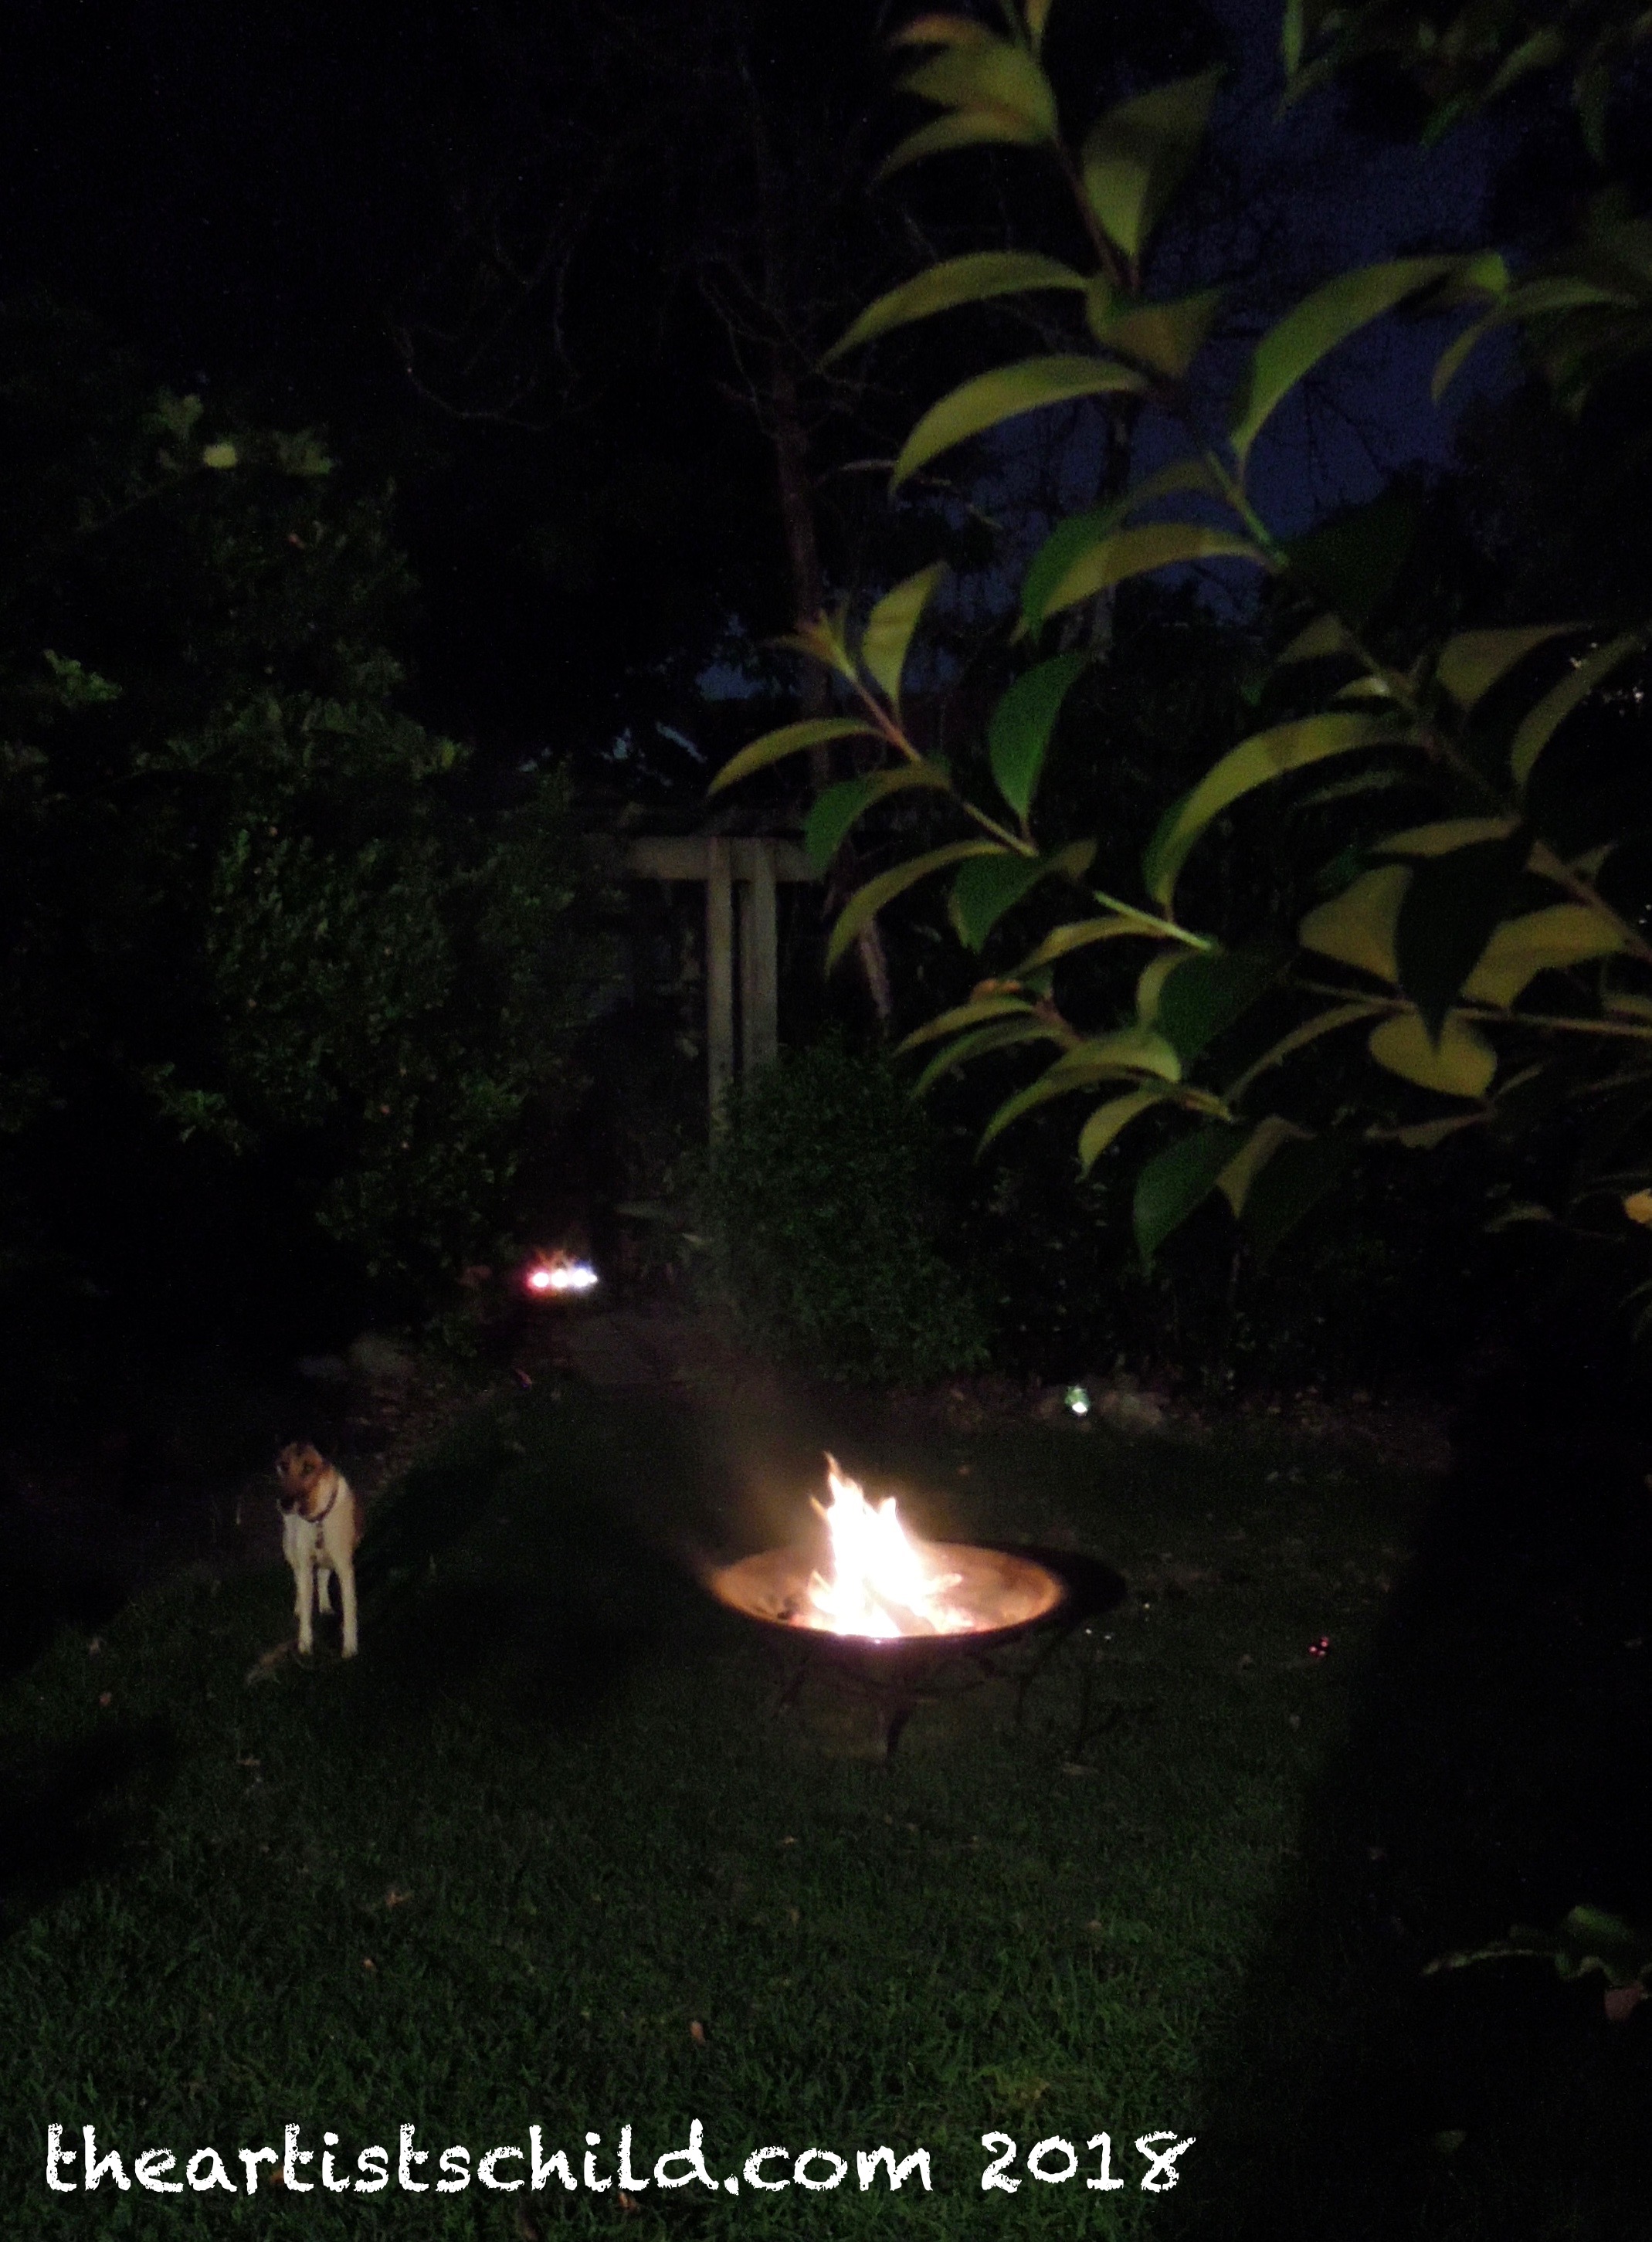
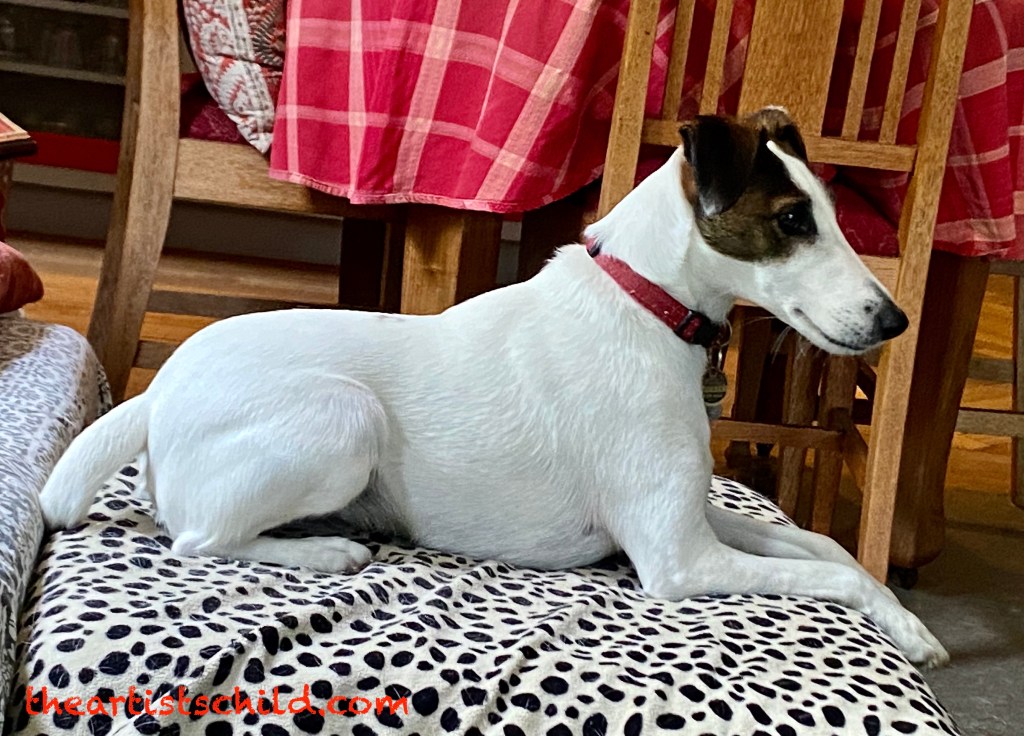
He was so fast I could not film this manic activity on video. My photos only show him at rest and looking cute because these were the only times I could take his picture. He was becoming a real Jekyll and Hyde. One minute happily playing with a toy or sleeping and the next barking furiously and demanding attention from us or distracted by creatures in the garden. We were giving him lots of love and exercise yet nothing seemed to calm him for long. Our female Fox Terrier was also triggered by his behaviour, as she suffers from a certain degree of separation anxiety and joined in with the barking and howling when we left them alone. We wanted to help him and it was distressing to see his anxiety and obsessive actions. In addition, I could not get on with anything in the studio because of his noisy behaviour and our failed attempts to quieten him down. We began searching online for solutions by investigating new training methods and other therapies.
In the meantime we received an anonymous, messy hand written note telling us that if we did not stop our dogs from barking, the writer would make a noise complaint to the local council. In the past when another neighbour had a problem with our dogs, he came and spoke to us, which is the adult thing to do. However this spineless person did not bother to come and speak with us directly, to give us a chance to explain our situation and that we were attempting to address this issue. Not only did we receive the note, but a bad mannered child, who I will call Shouty Boy, repeatedly yells loudly over our immediate neighbour’s fences from a nearby property, telling our dogs to “shut up” or “be quiet”. Although he can hear us, Shouty Boy ignores that we are actively trying to stop them from barking and his yelling further upsets the dogs. We suspect that The Spineless One lives at the same address as Shouty Boy, as these people obviously don’t like dogs making any kind of noise during the daytime. We never allow our dogs outside unsupervised at night and bring them in at the first sign of barking.
Over the next month Ellie found a marvellous online dog training course which she signed up to, but before we had a chance to see any change in the dog, we received a complaint notice from the Council. They informed us that the time frame for the Anonymous complaint was for the afternoon hours, at the time dogs are more likely to be outside doing doggy behaviour. We needed to resolve this situation before we were threatened with a fine by the Council. I also refuse to let The Spineless One and Shouty Boy tarnish the joy I have in my dog, who loves sitting in the sun in our back garden and investigating the smells and sounds of nature.
A friend suggested we try a Dog Pheromone Diffuser to relax and calm the dogs, but this is very expensive and only worked when they were indoors. After more research we discovered that dogs can also be affected by Attention Deficit Hyperactivity Disorder (ADHD) and my dog had all the symptoms. This was confirmed after a visit to our Vet. He was put on the same medication that is given to humans to control this condition. It took some time to work, but now he is a much calmer dog and listens to instructions. He still requires regular, long walks as he has high energy levels that need to be kept under control. With a combination of the new training methods and medication, he is a much happier dog and we have not heard any further complaints from the Council.
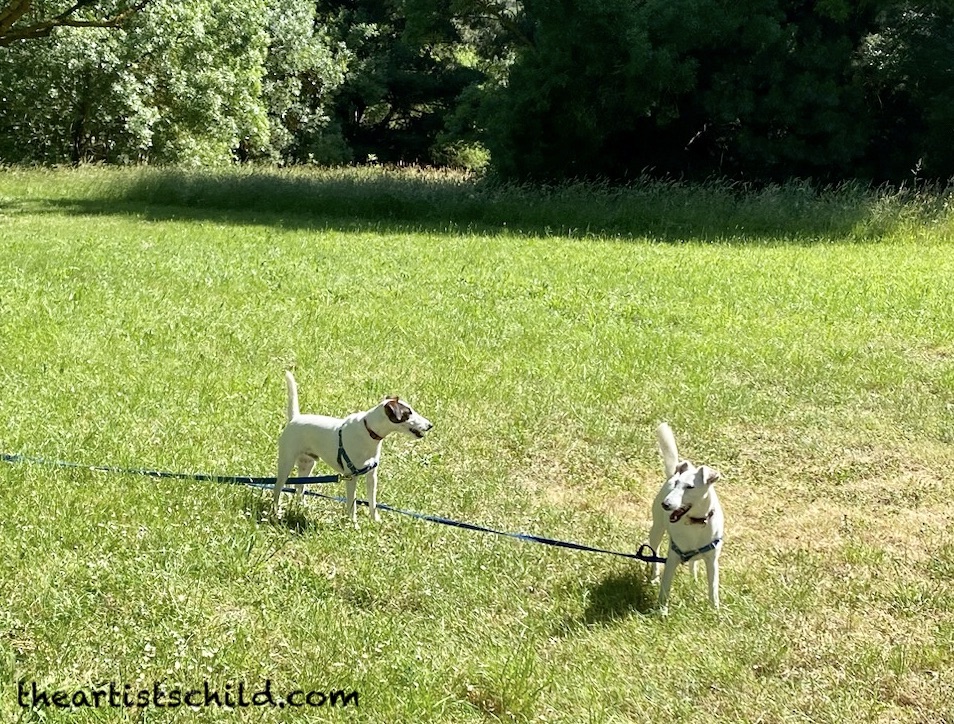
Now we have been able to take both the dogs on a picnic with friends to a large park, where, with the aid of a couple of very long leashes tied to a tree, the dogs could play together without any danger of them disappearing while we ate lunch. It is lovely to see my dog enjoying life as a dog should.
Dealing with this stressful situation took months and negatively affected my ability to create art. I was continually on edge worrying about The Spineless One making a further complaint every time my dog barked. The main thing that helped lower my anxiety levels was singing and playing my ukuleles, but this was only possible once all the dog training and medicines had really kicked in. You can’t play an instrument when a barking dog makes it impossible to hear anything.
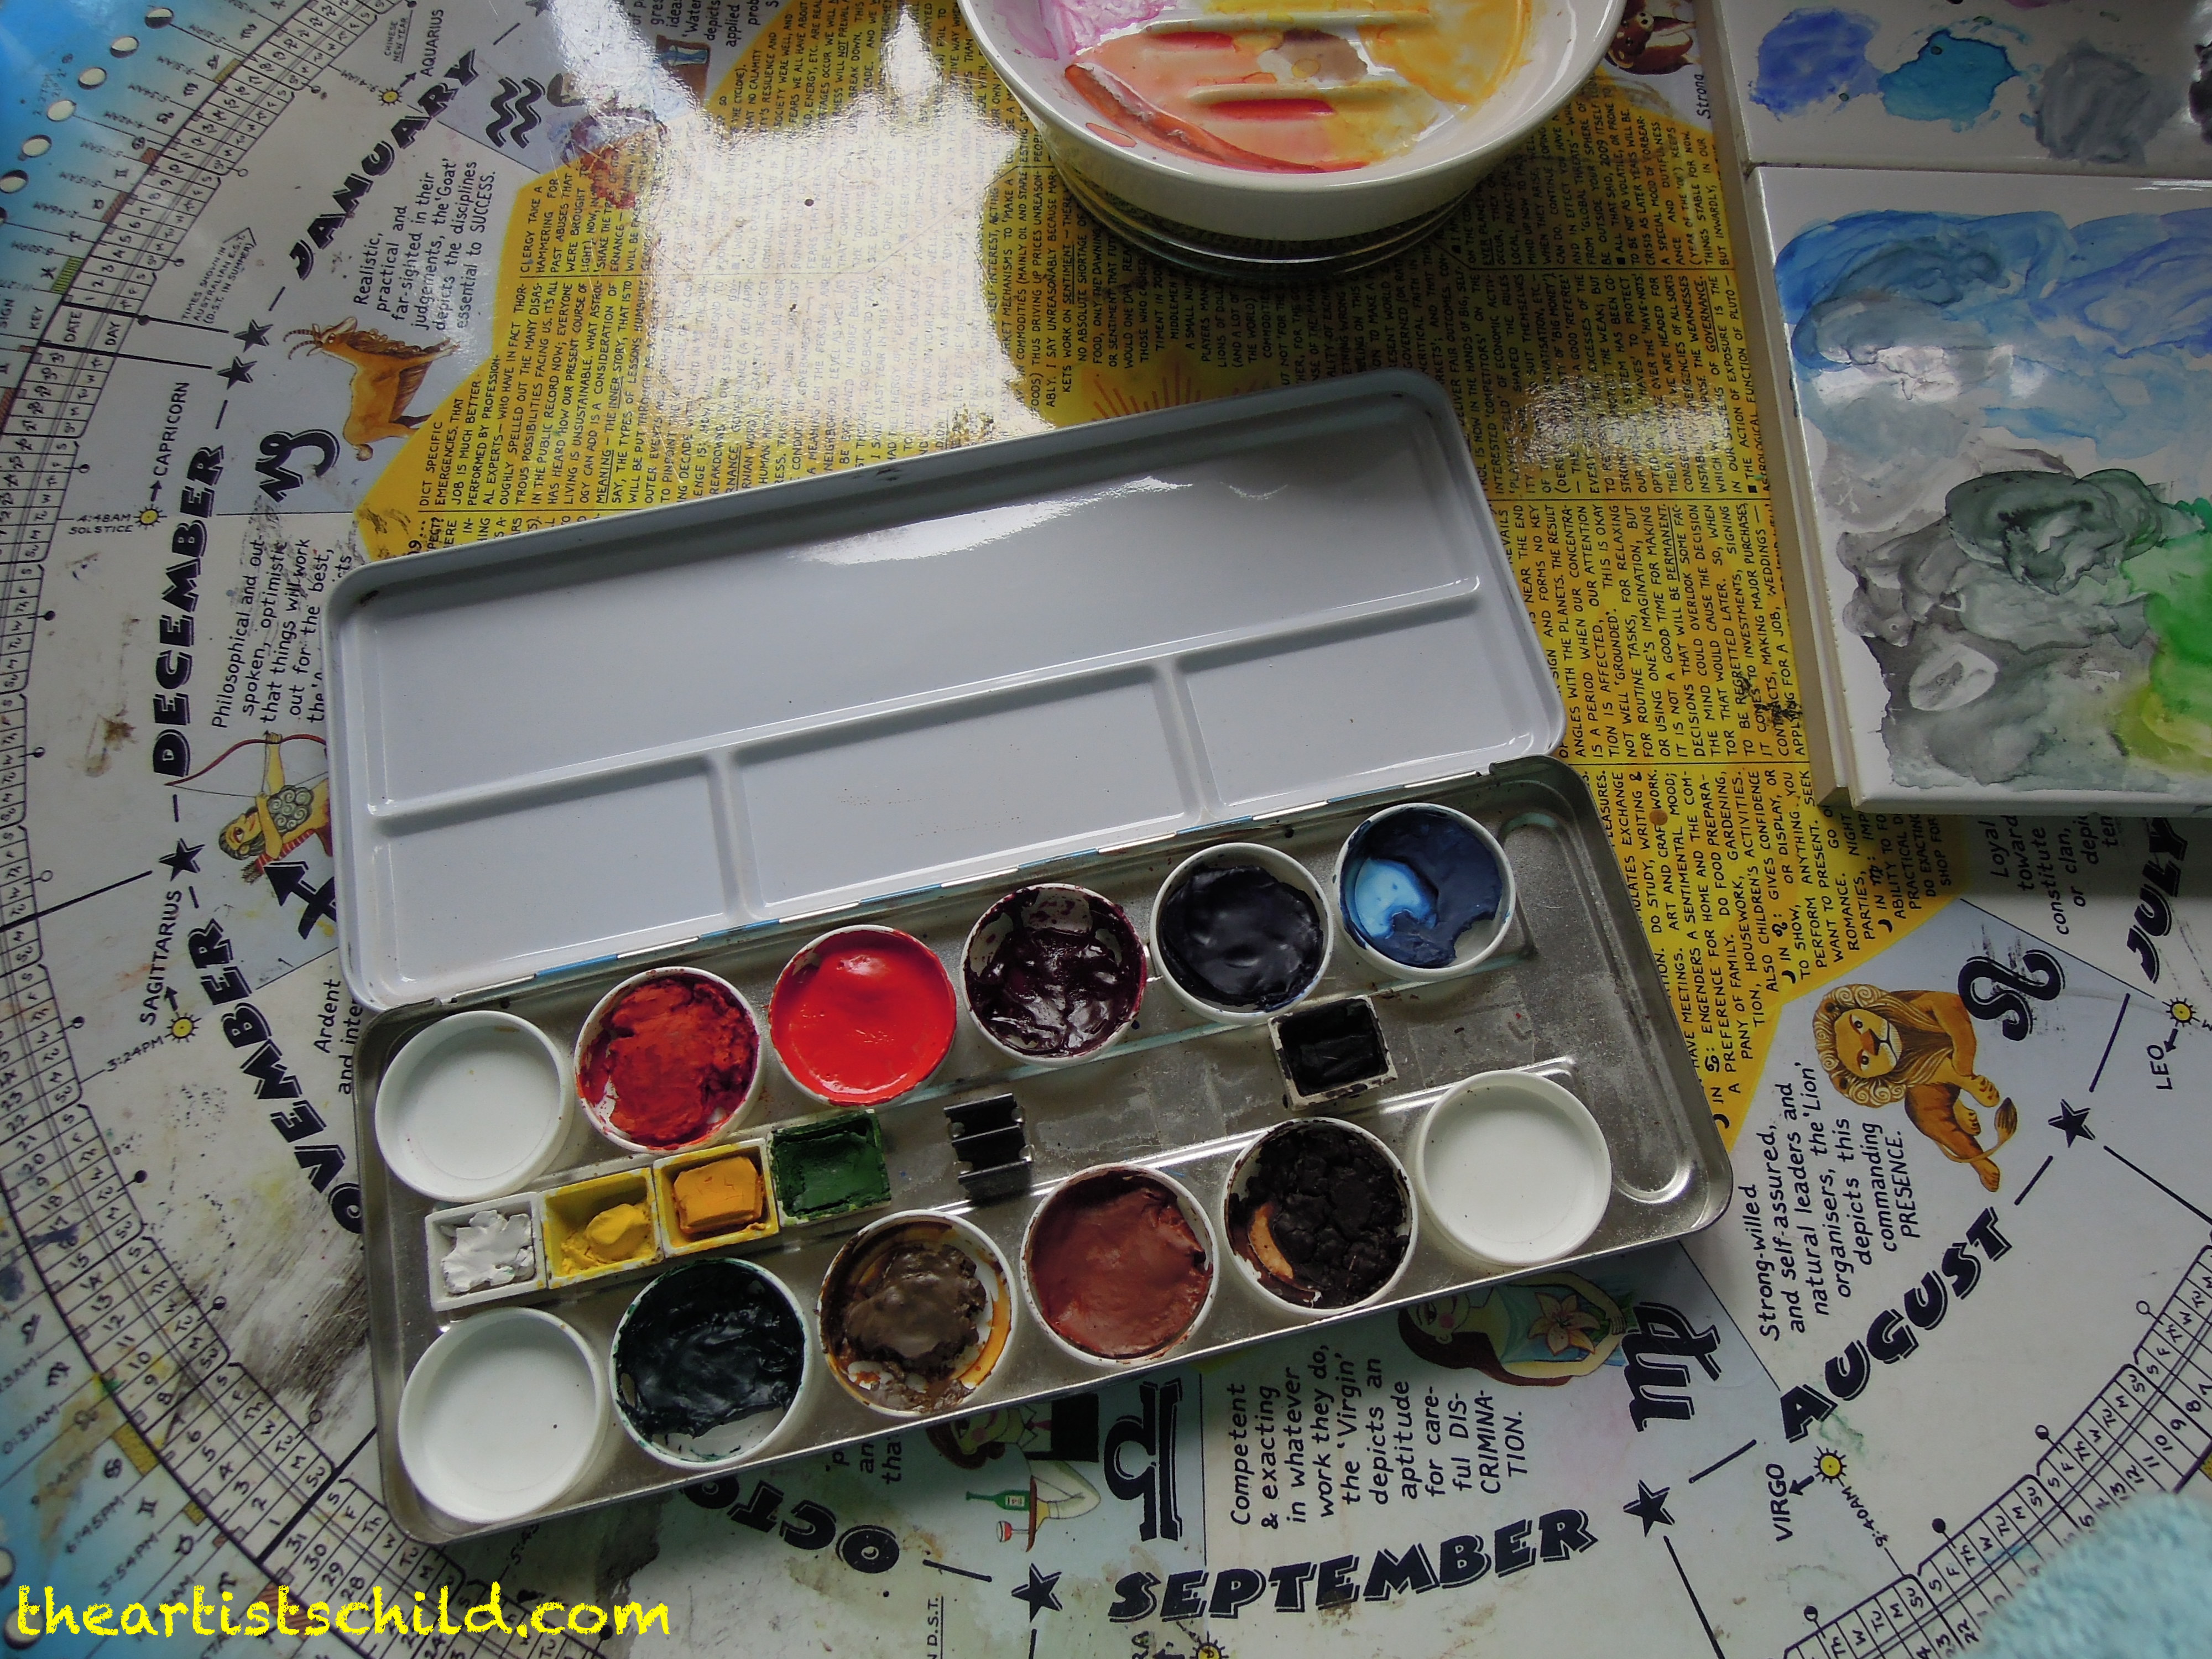
In the past when I have found it difficult to get back into my art, I have revisited neglected art materials and techniques or have tried a new art supply to reinvigorate my creativity. This time I decided I needed to do something completely different to rekindle my creativity and purchased an online course on Bird Painting by Artist and YouTuber, Sandi Hester ( https://www.youtube.com/@sandihester). This workshop is not about painting realistic Birds but employs loosening up exercises that frees you to create you own individual bird imagery. The lessons also allow you to work with and develop your mixed media skills using your favourite materials.

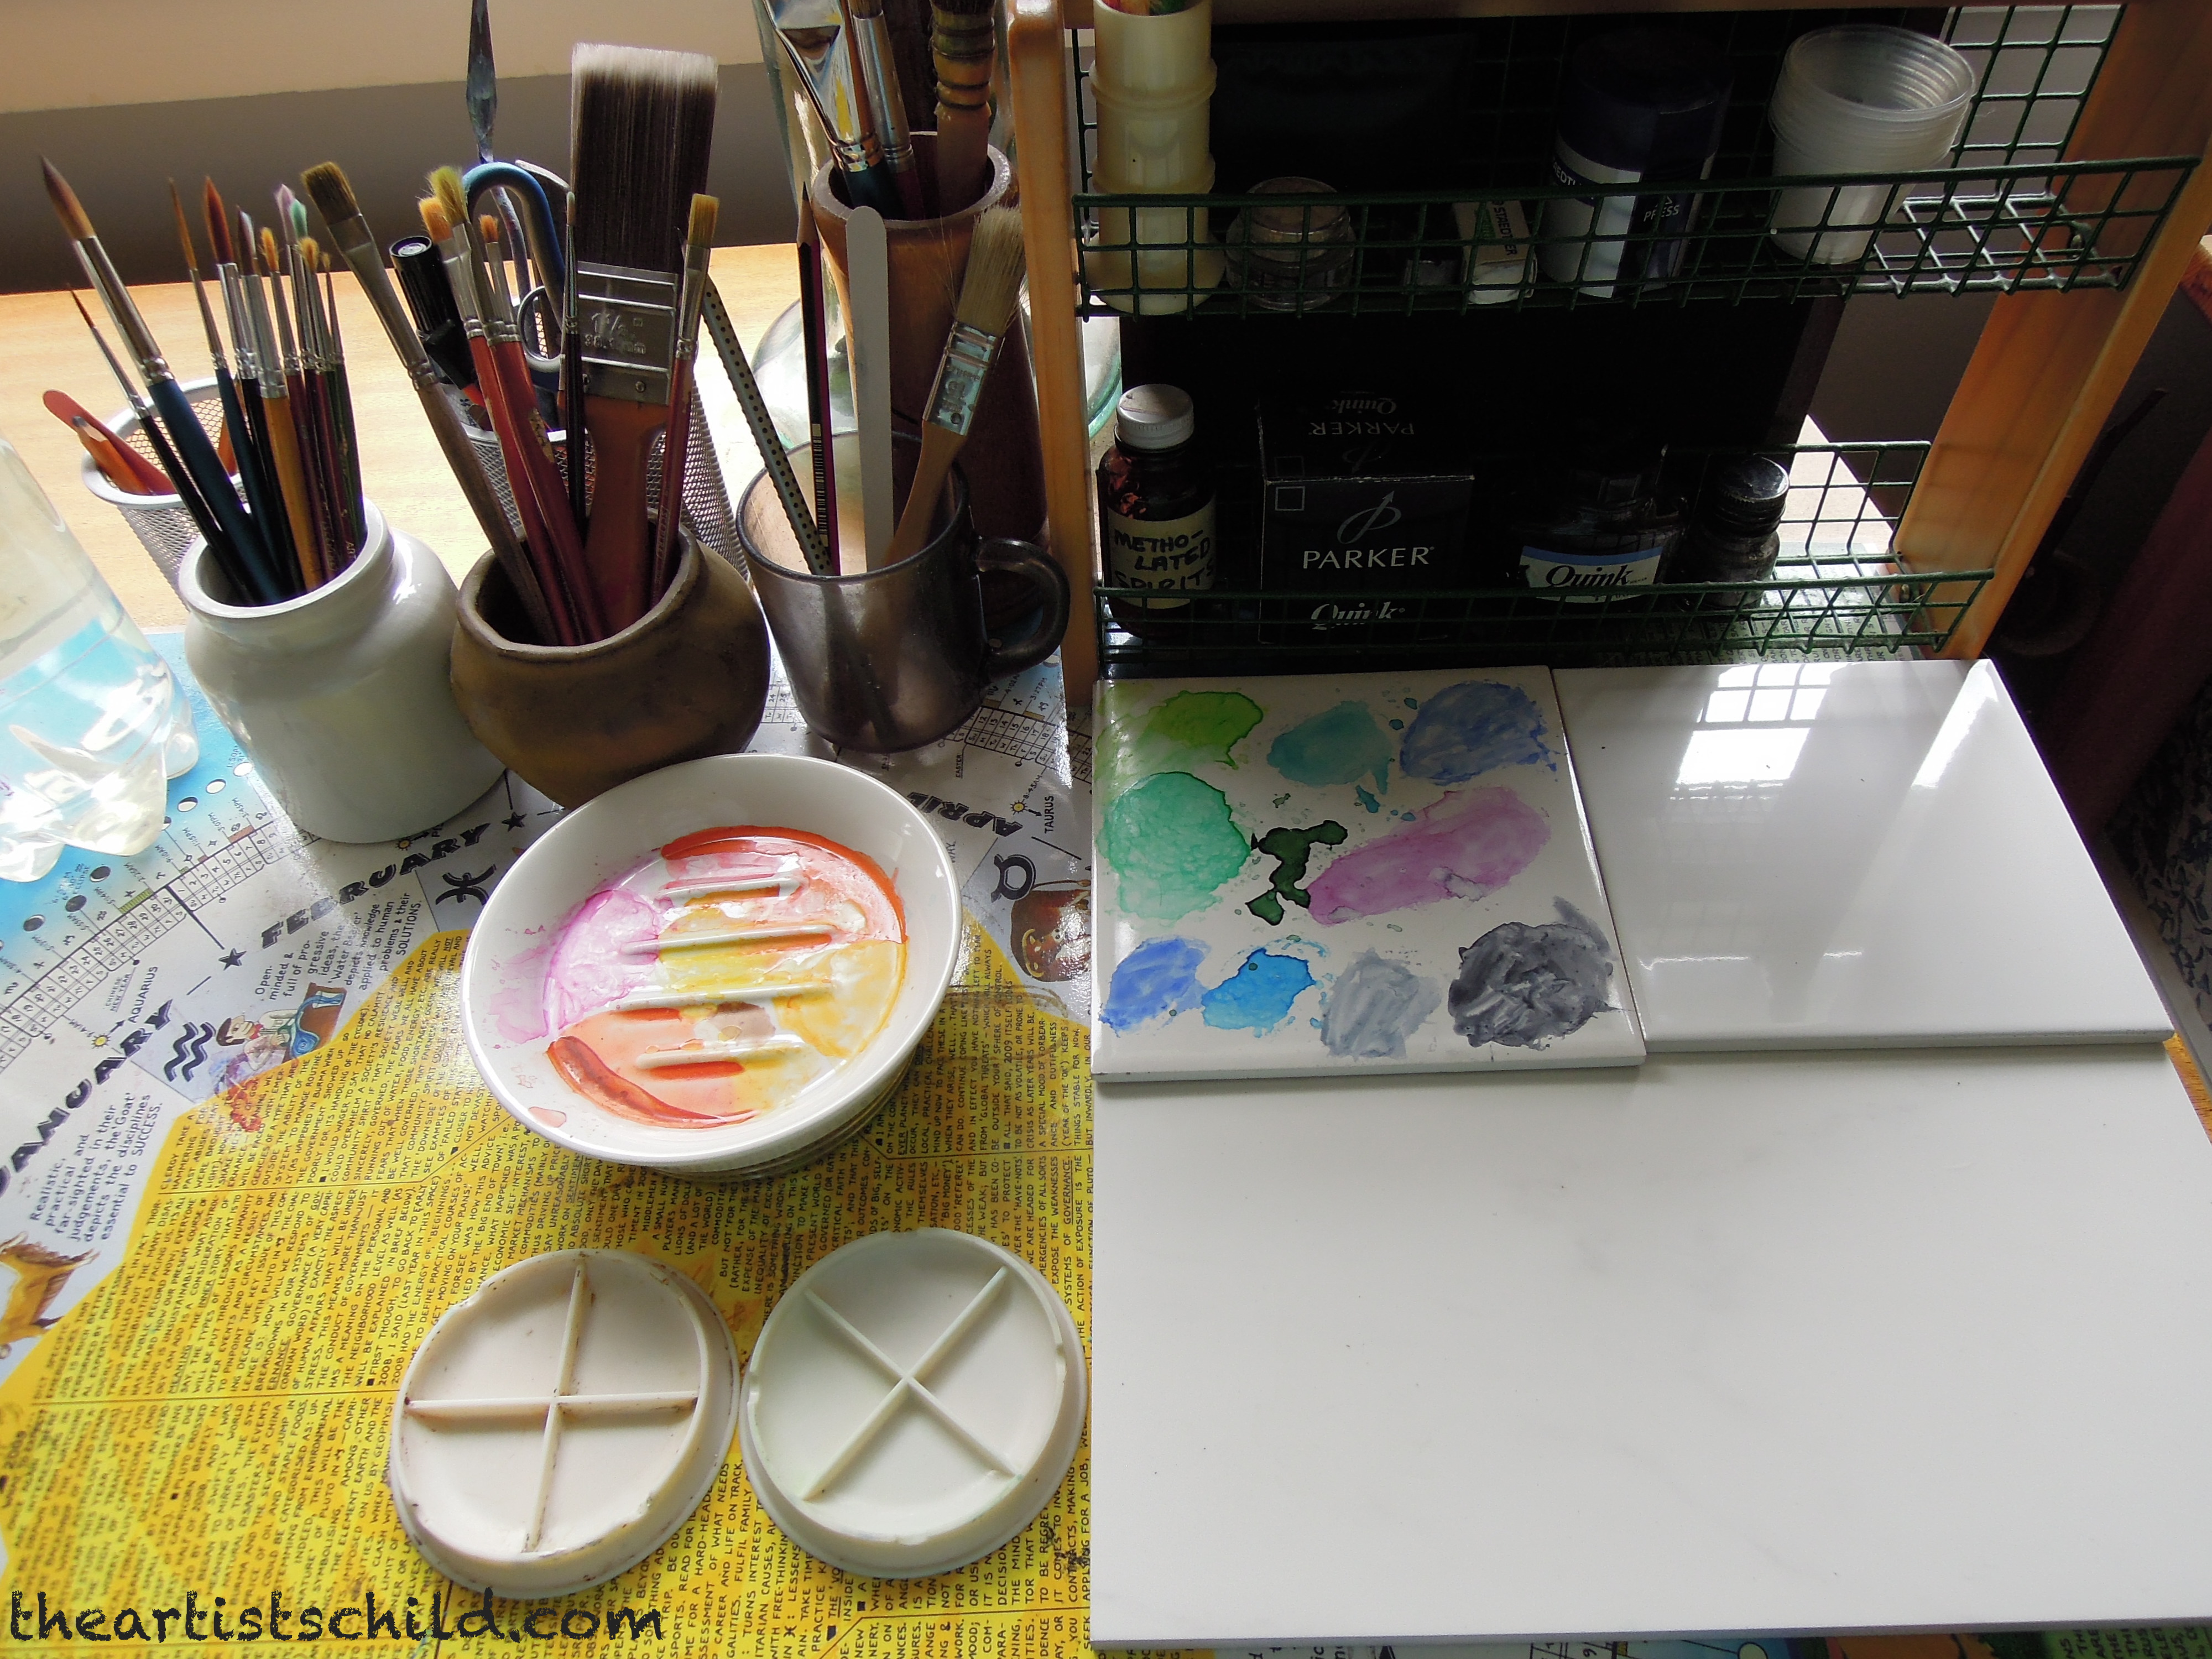
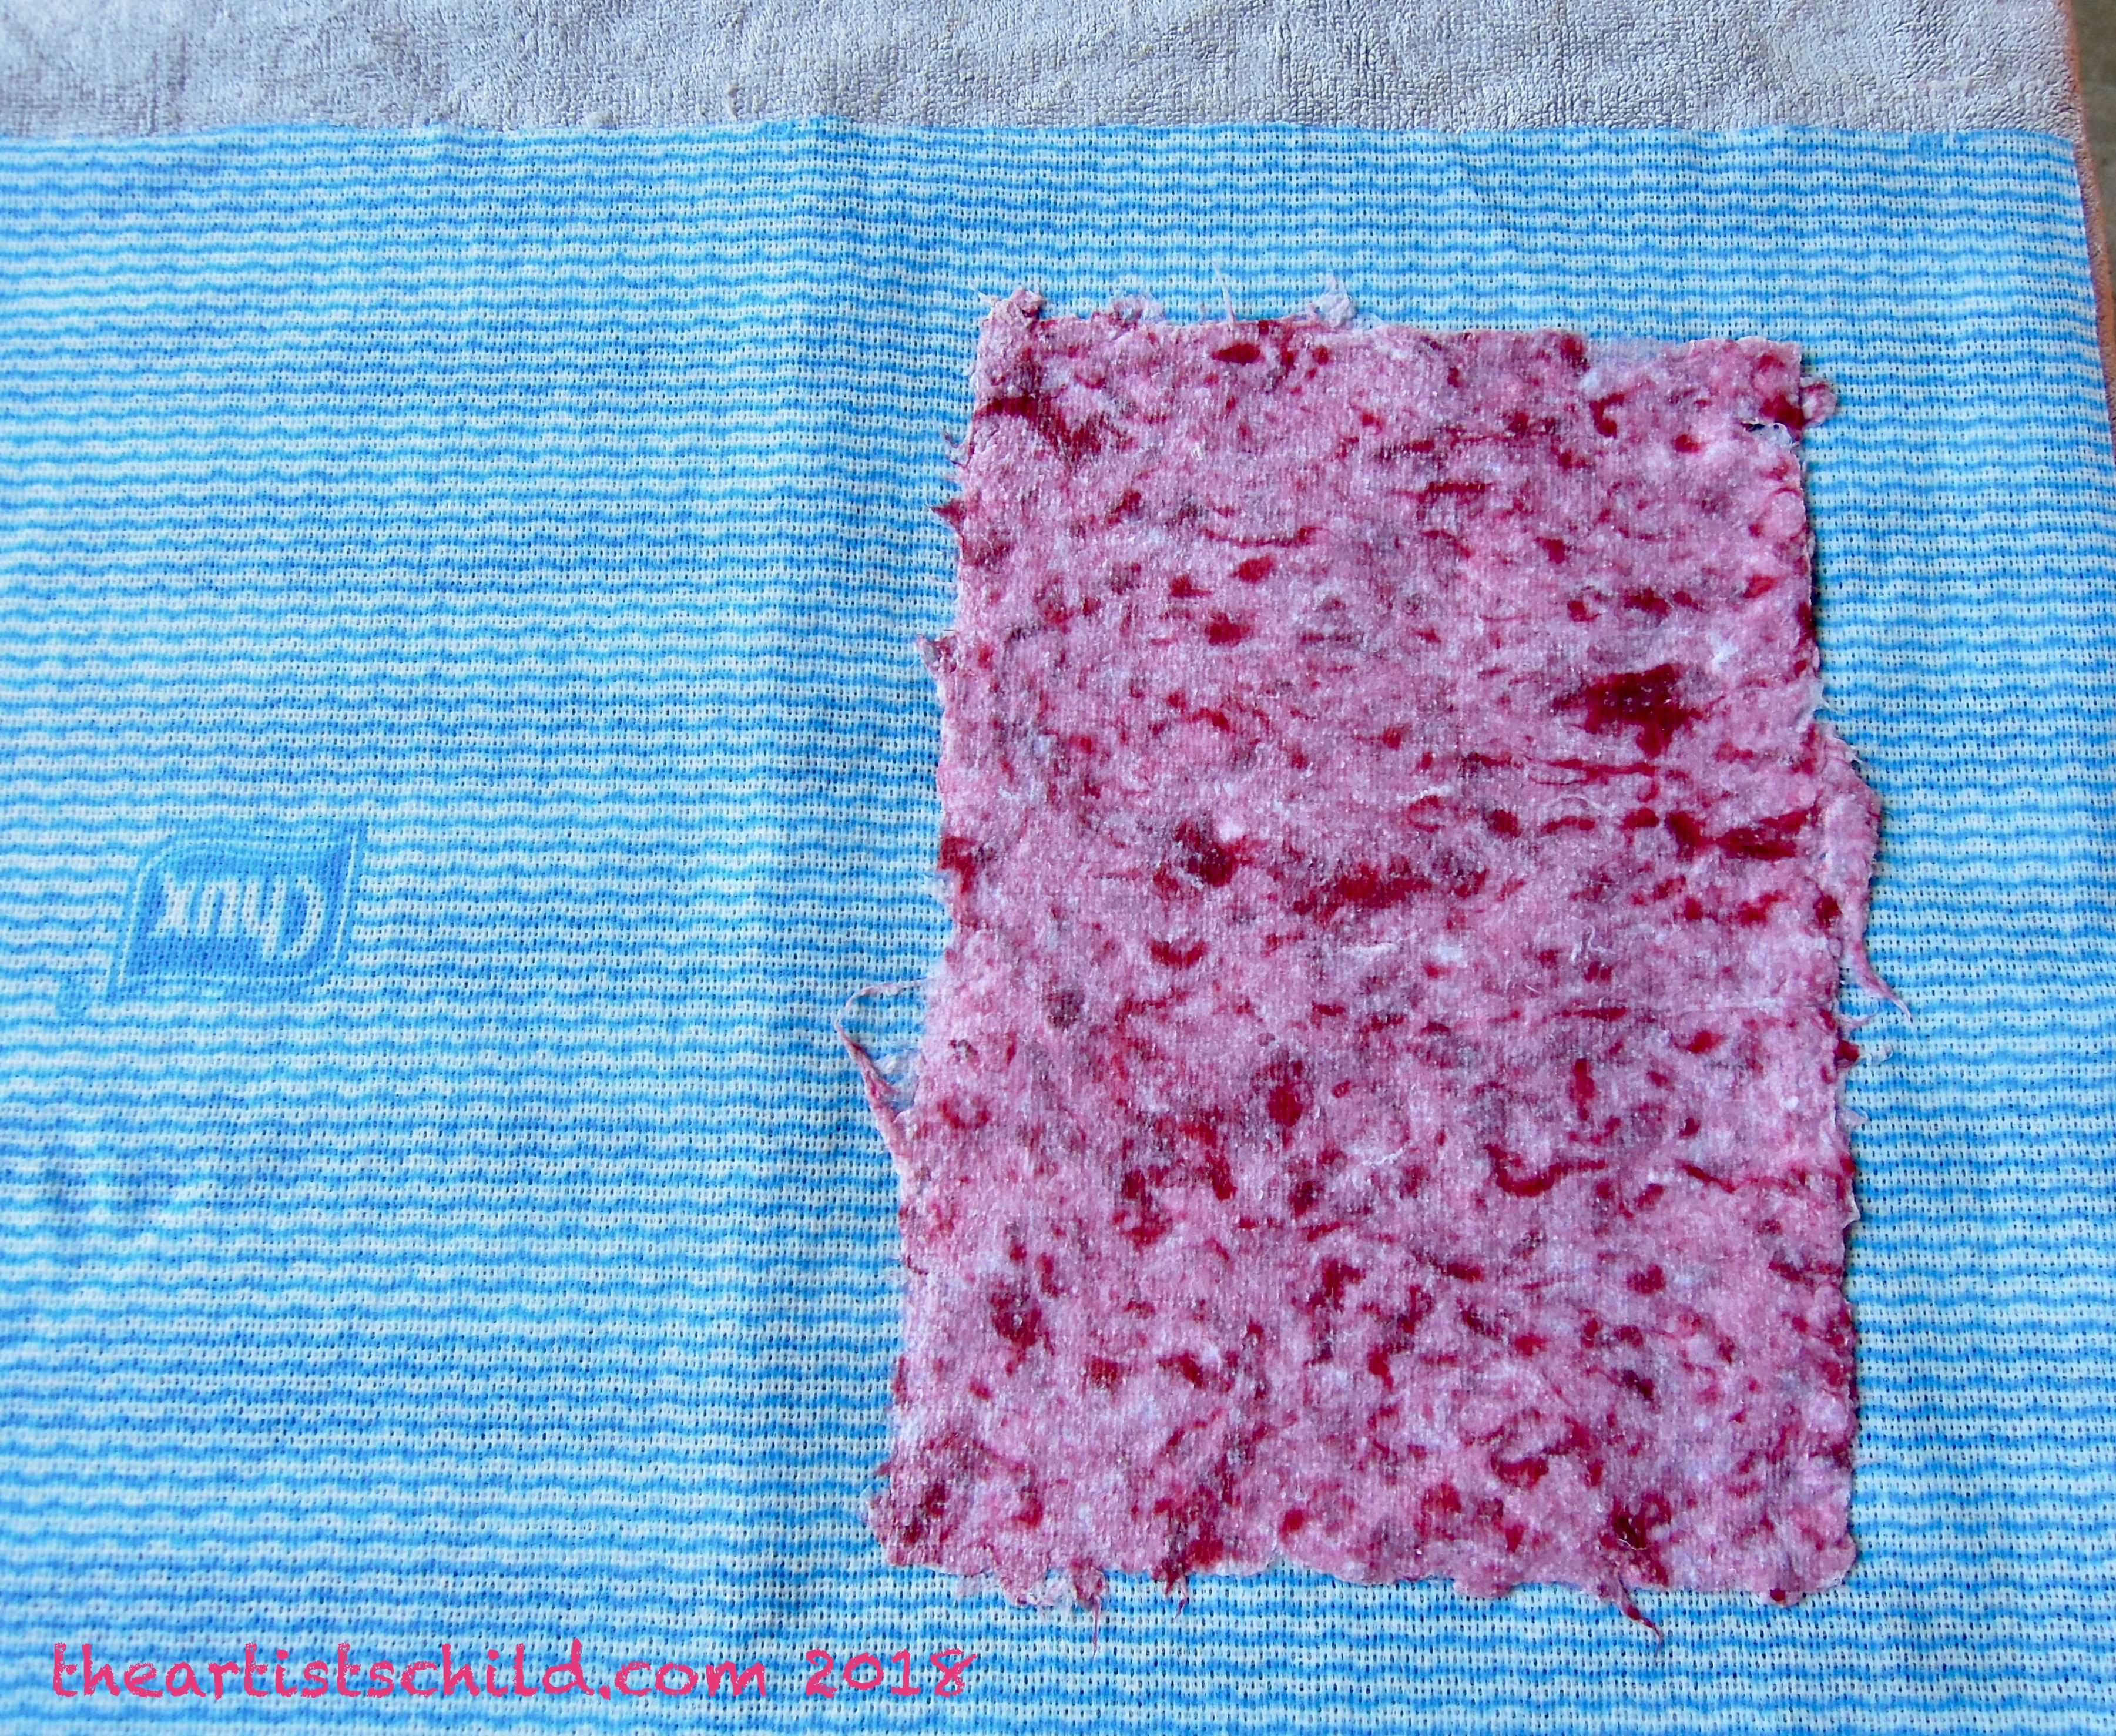
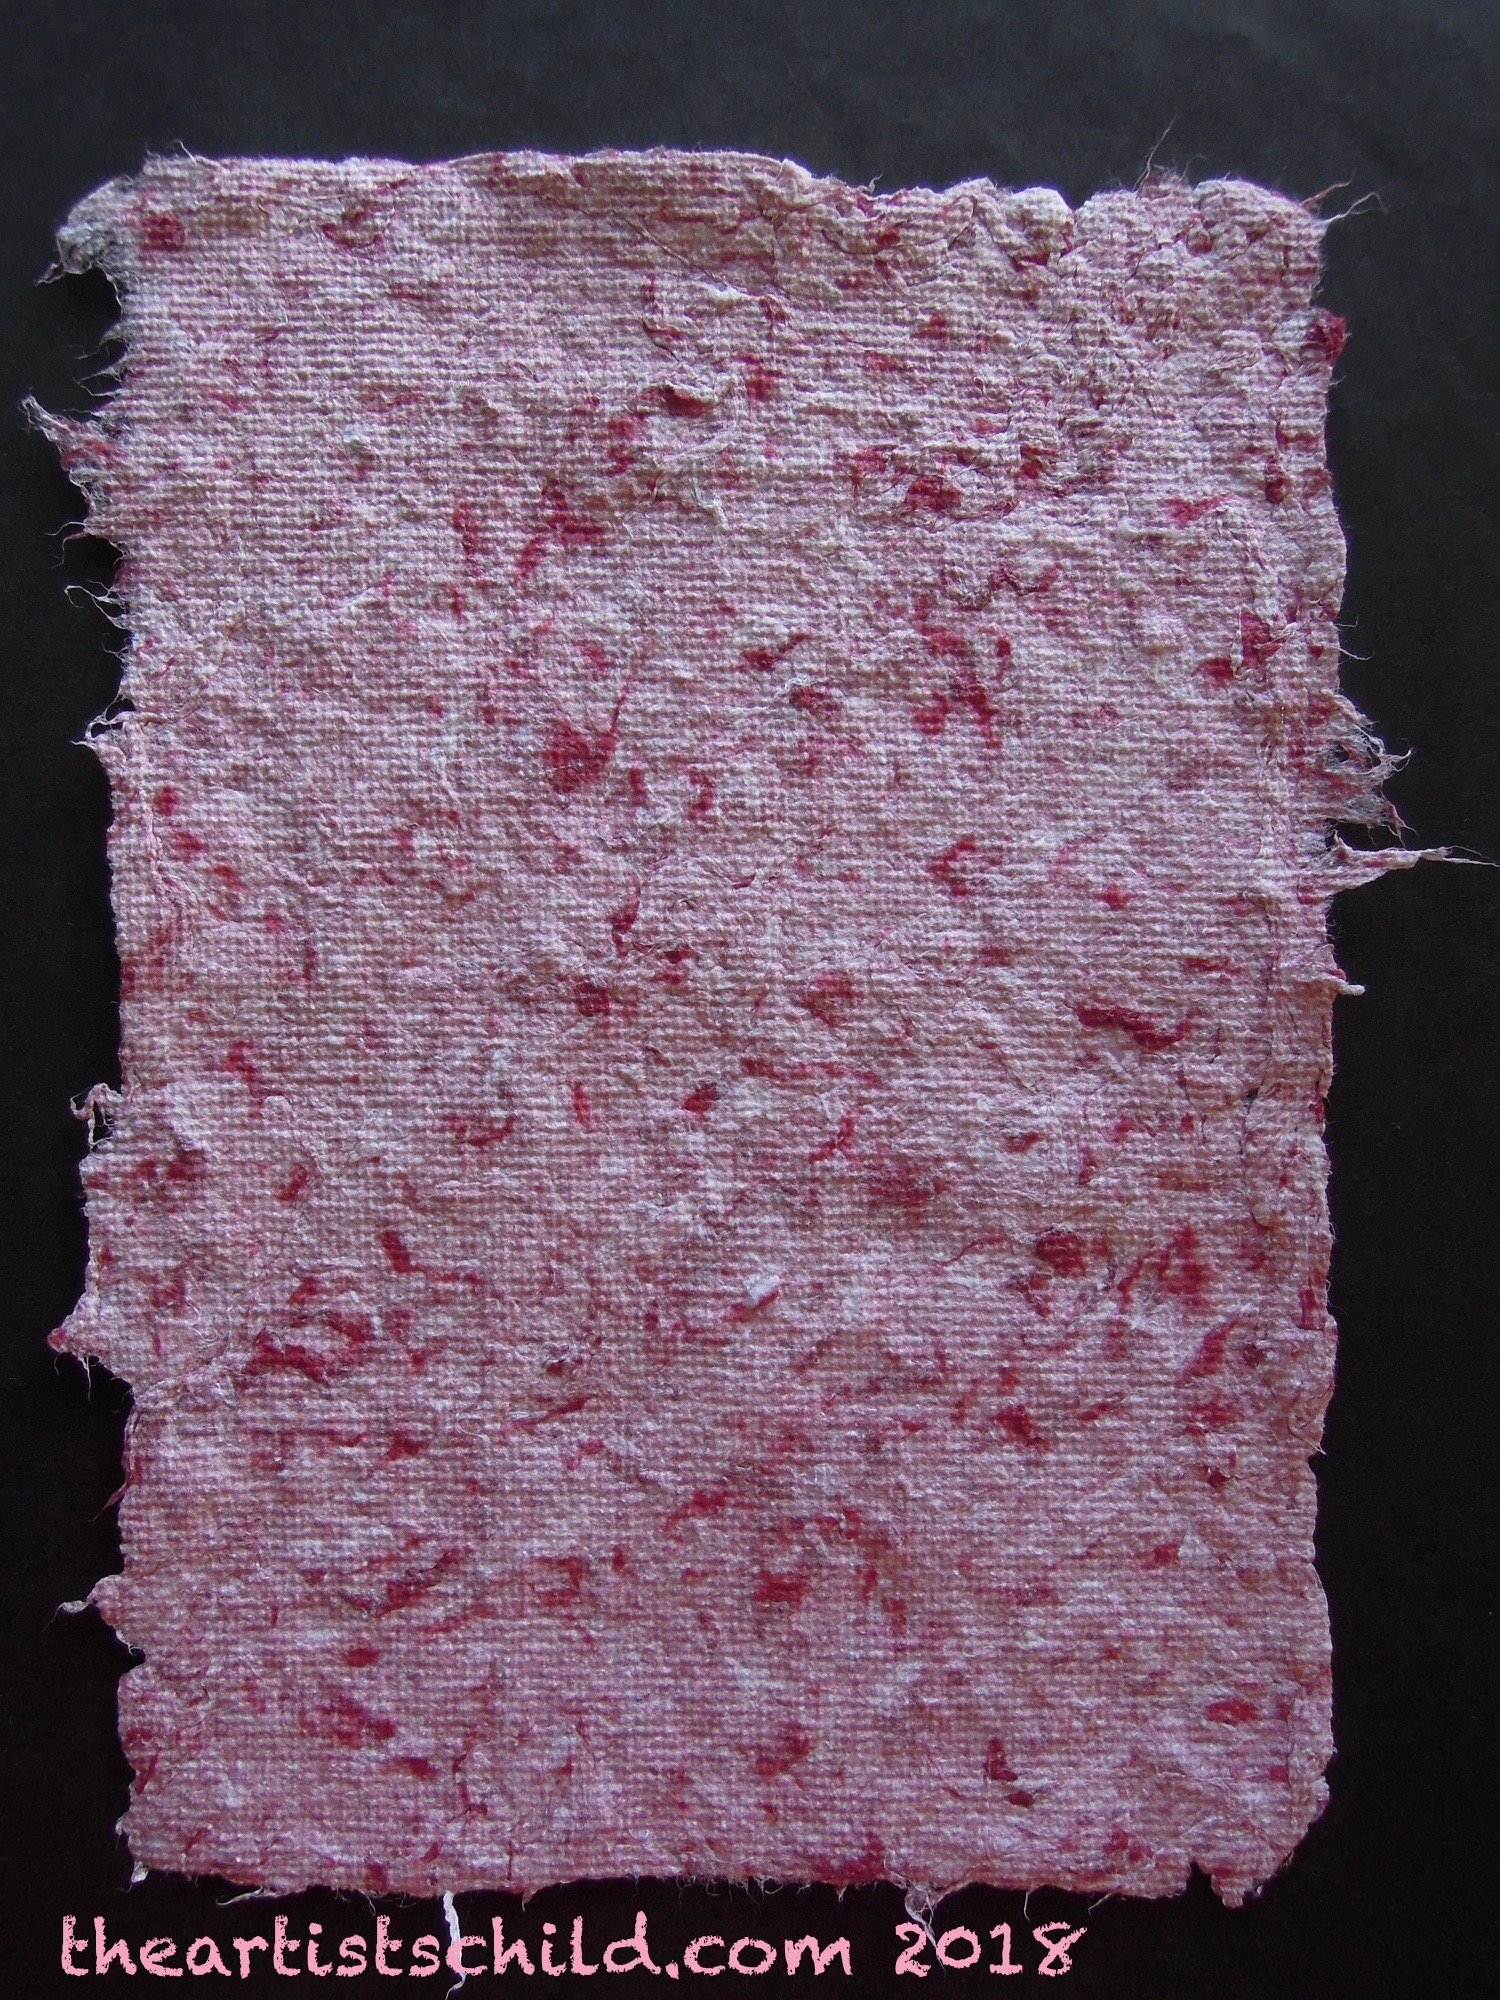
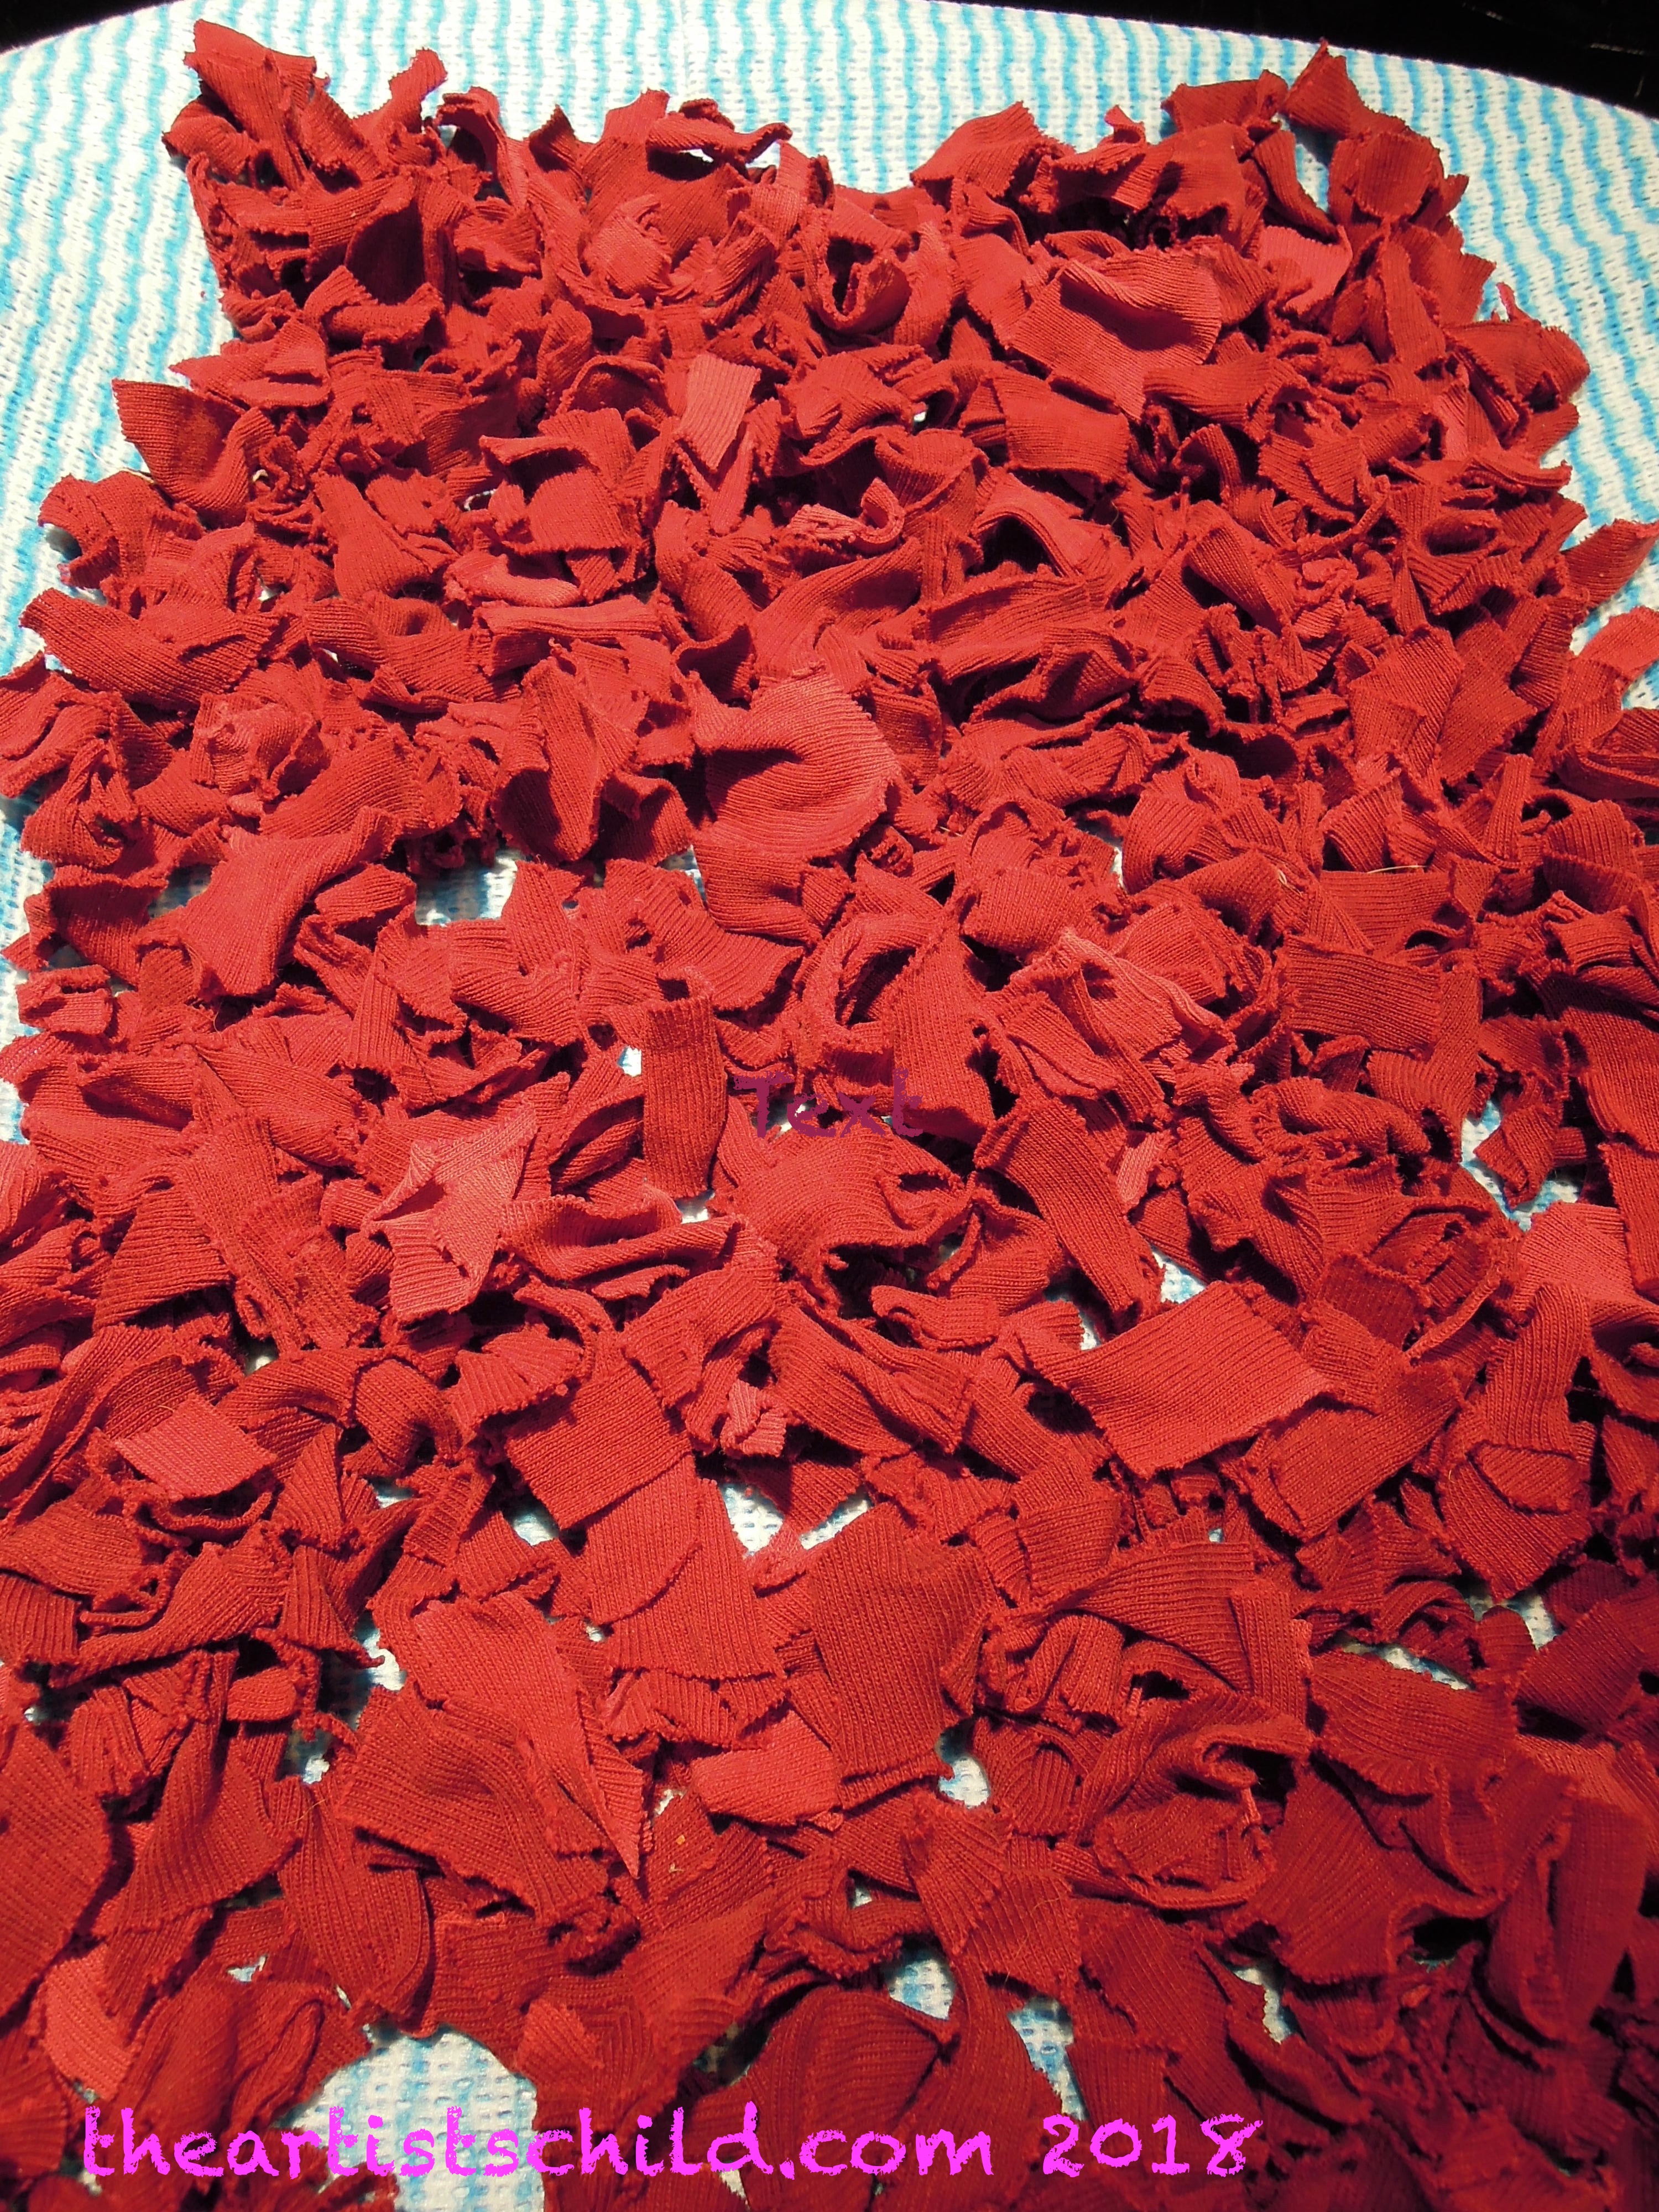
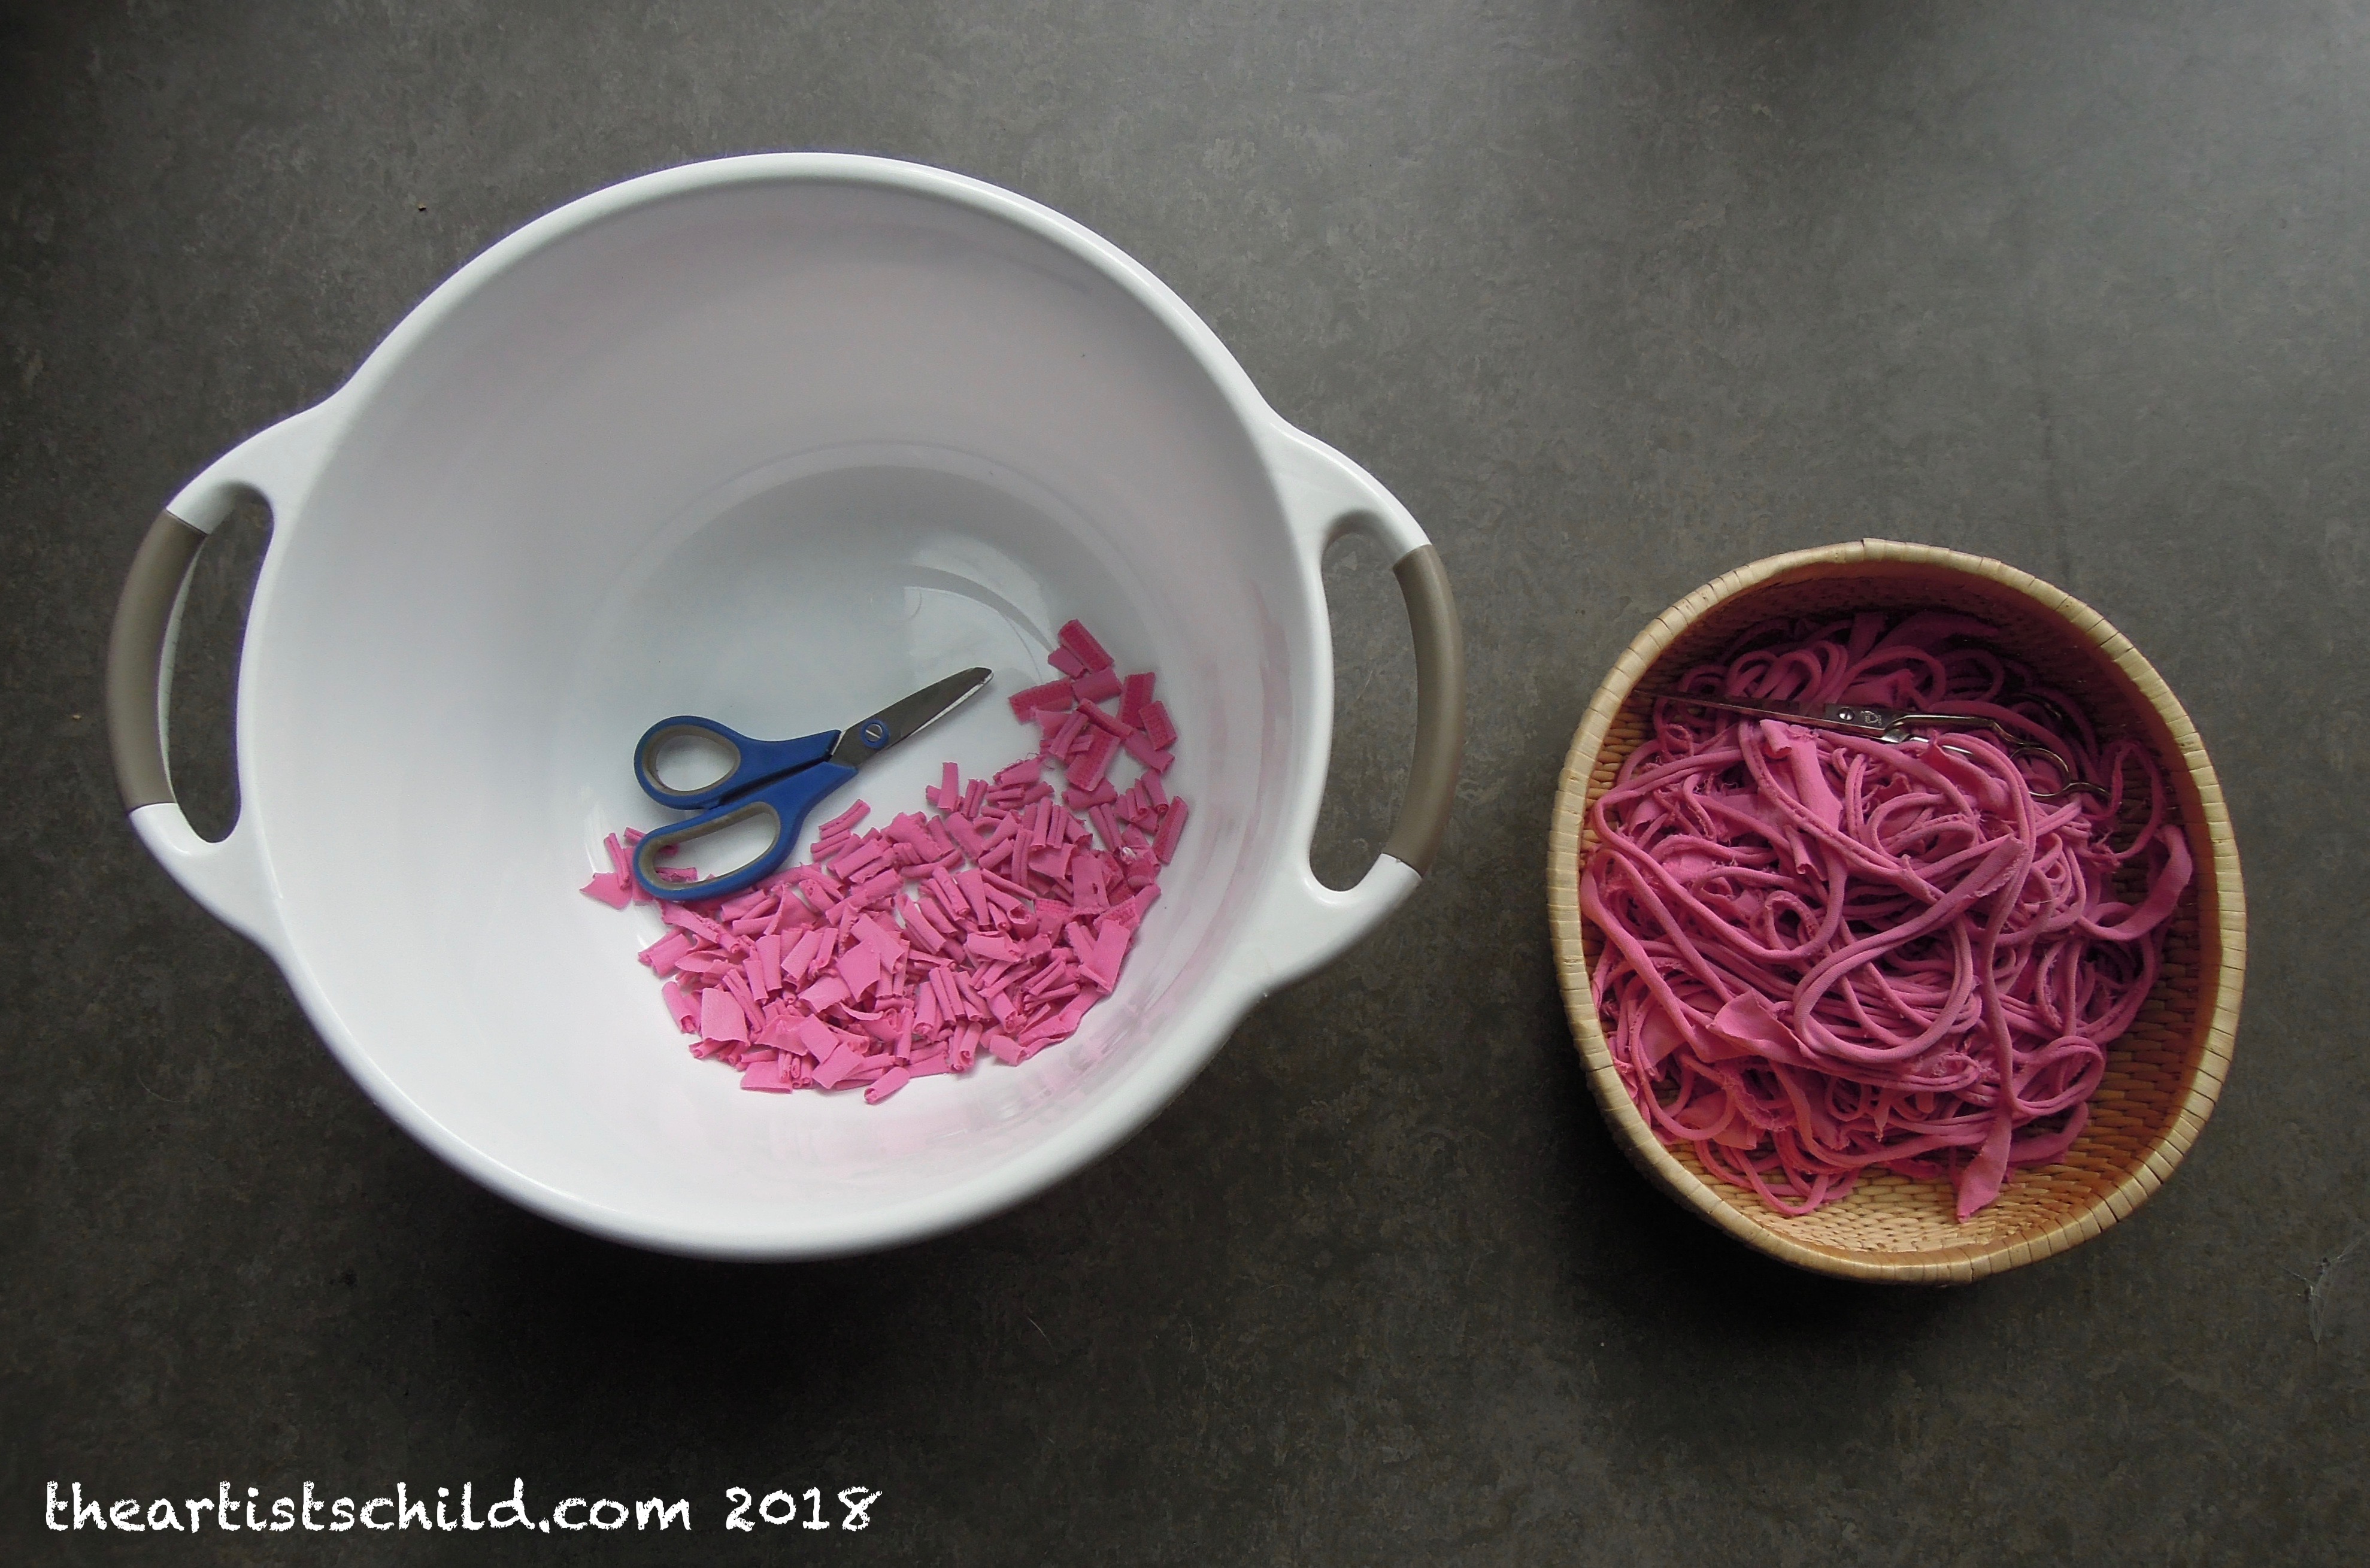
It is very fun and inspiring to create swatches of your chosen mixed media to learn how they work together and to discover the colour mixes you can make from you chosen palette.

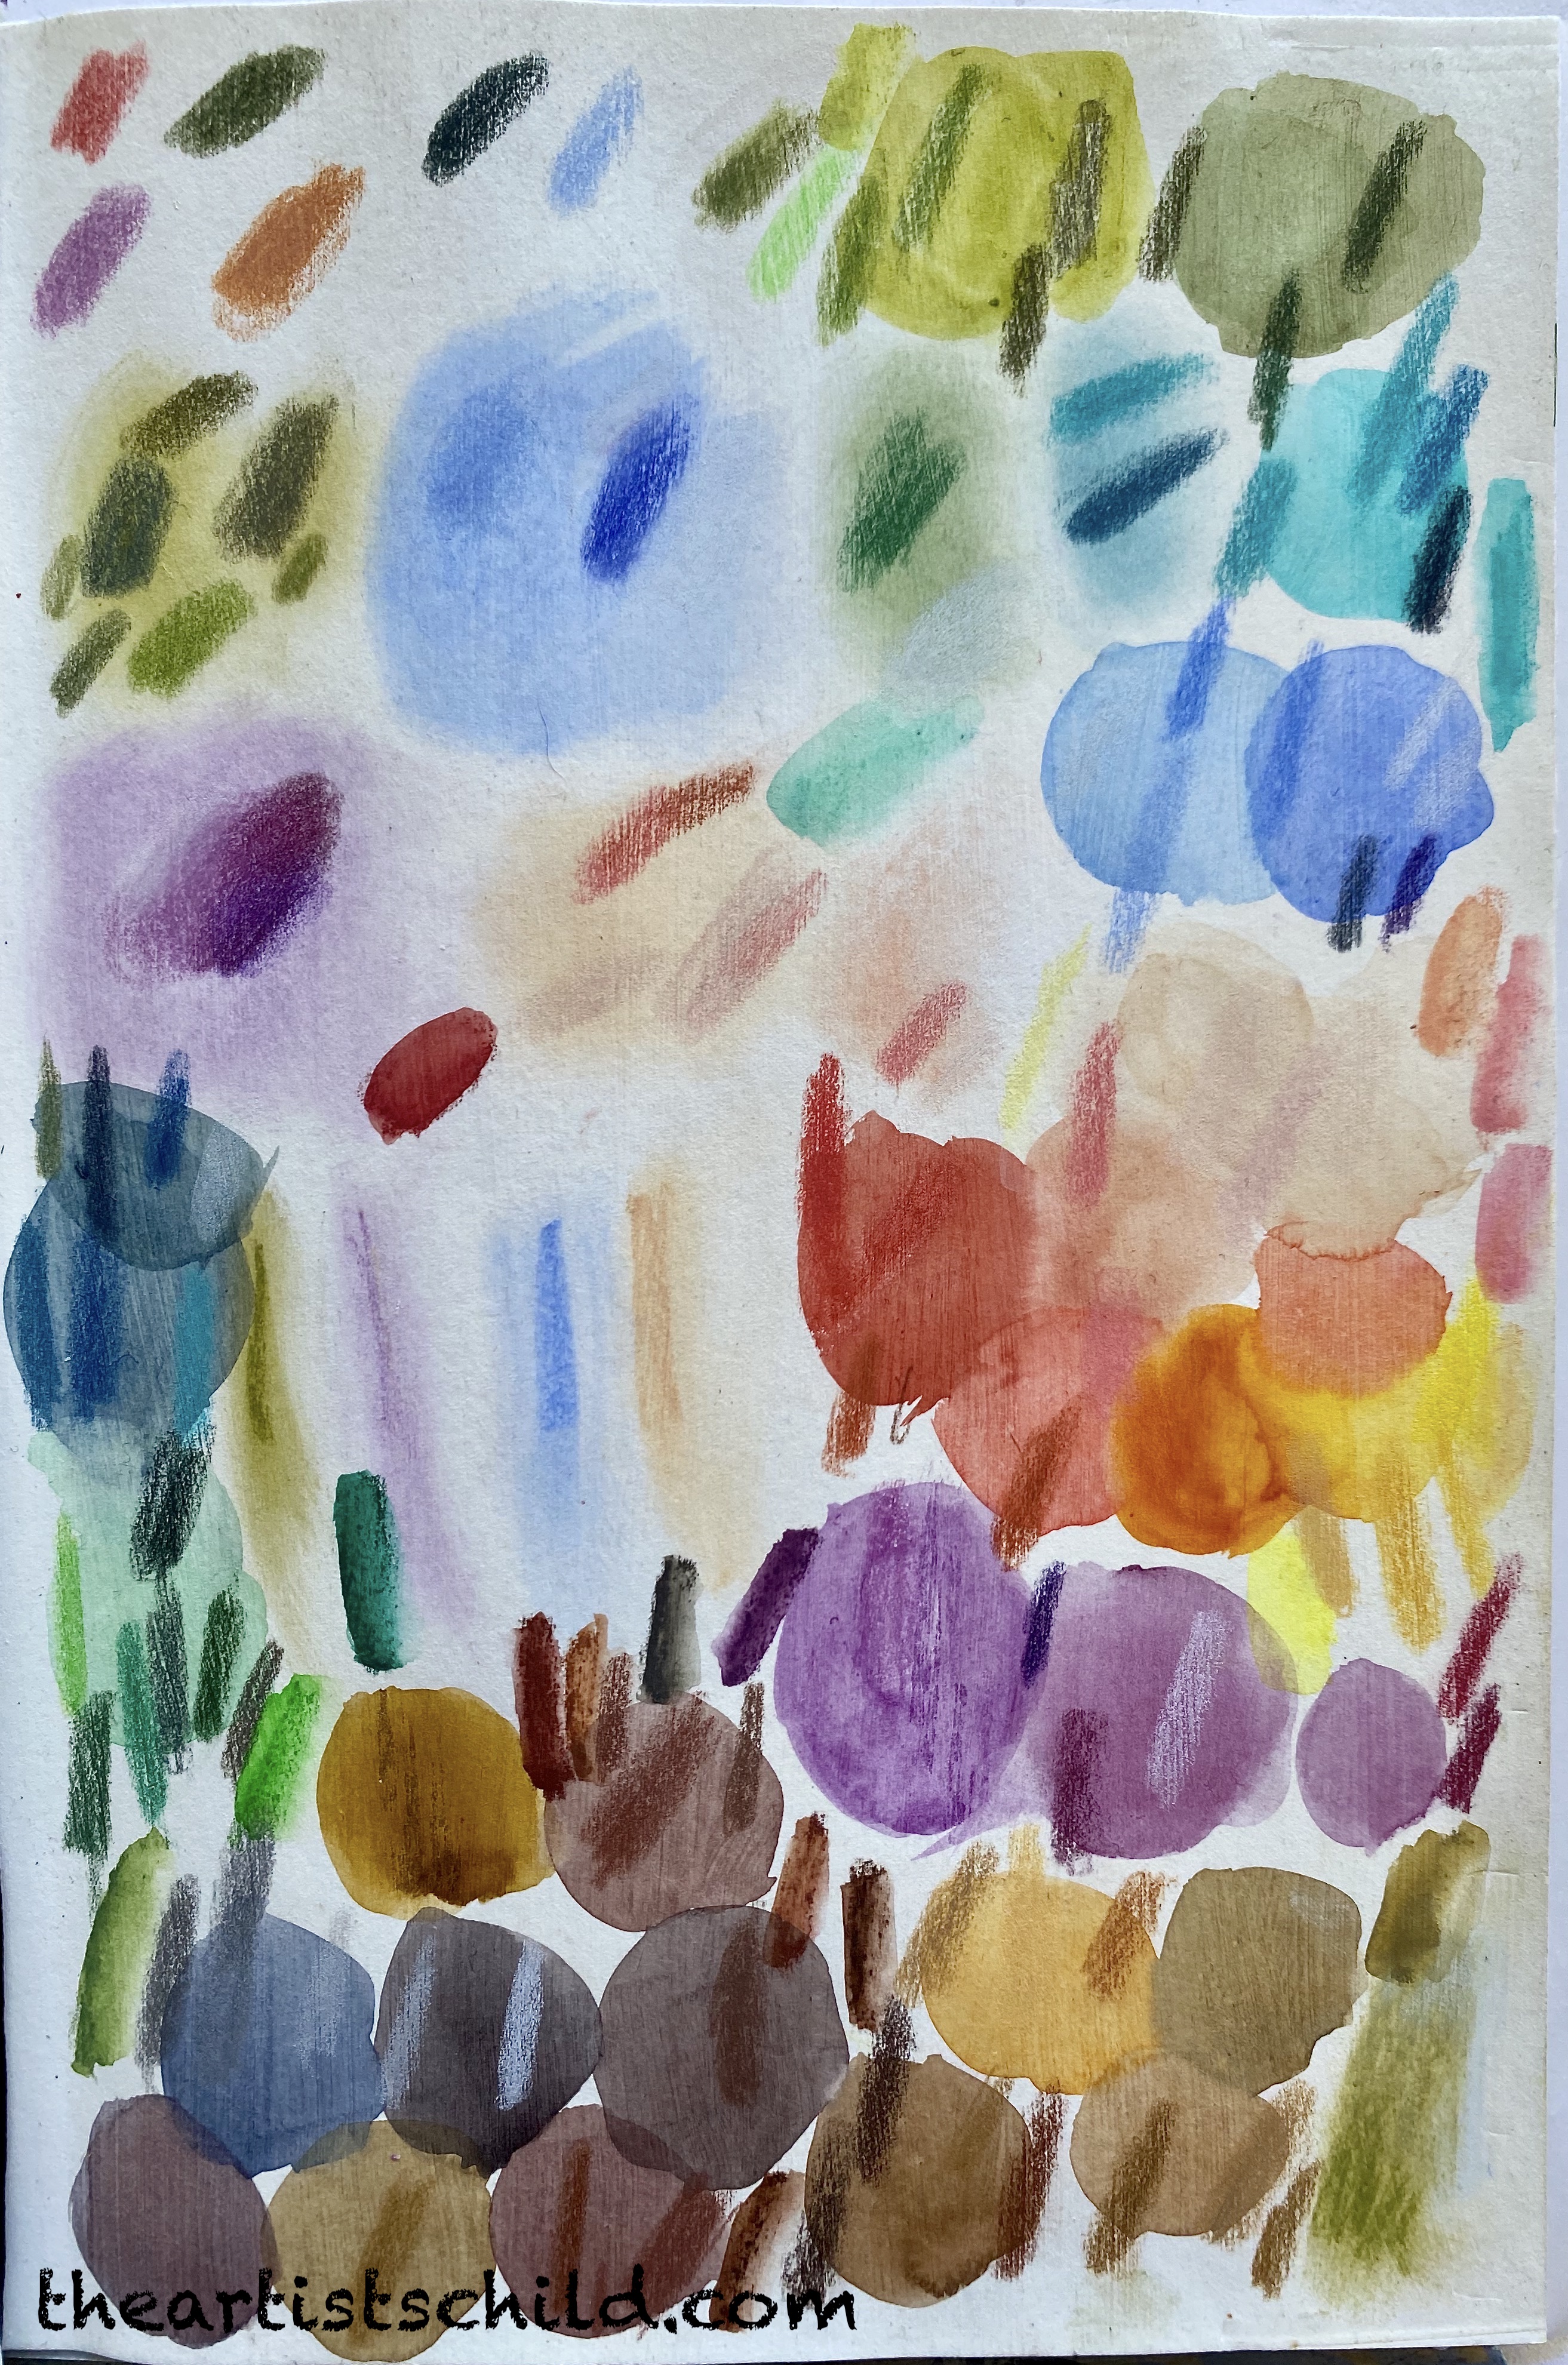
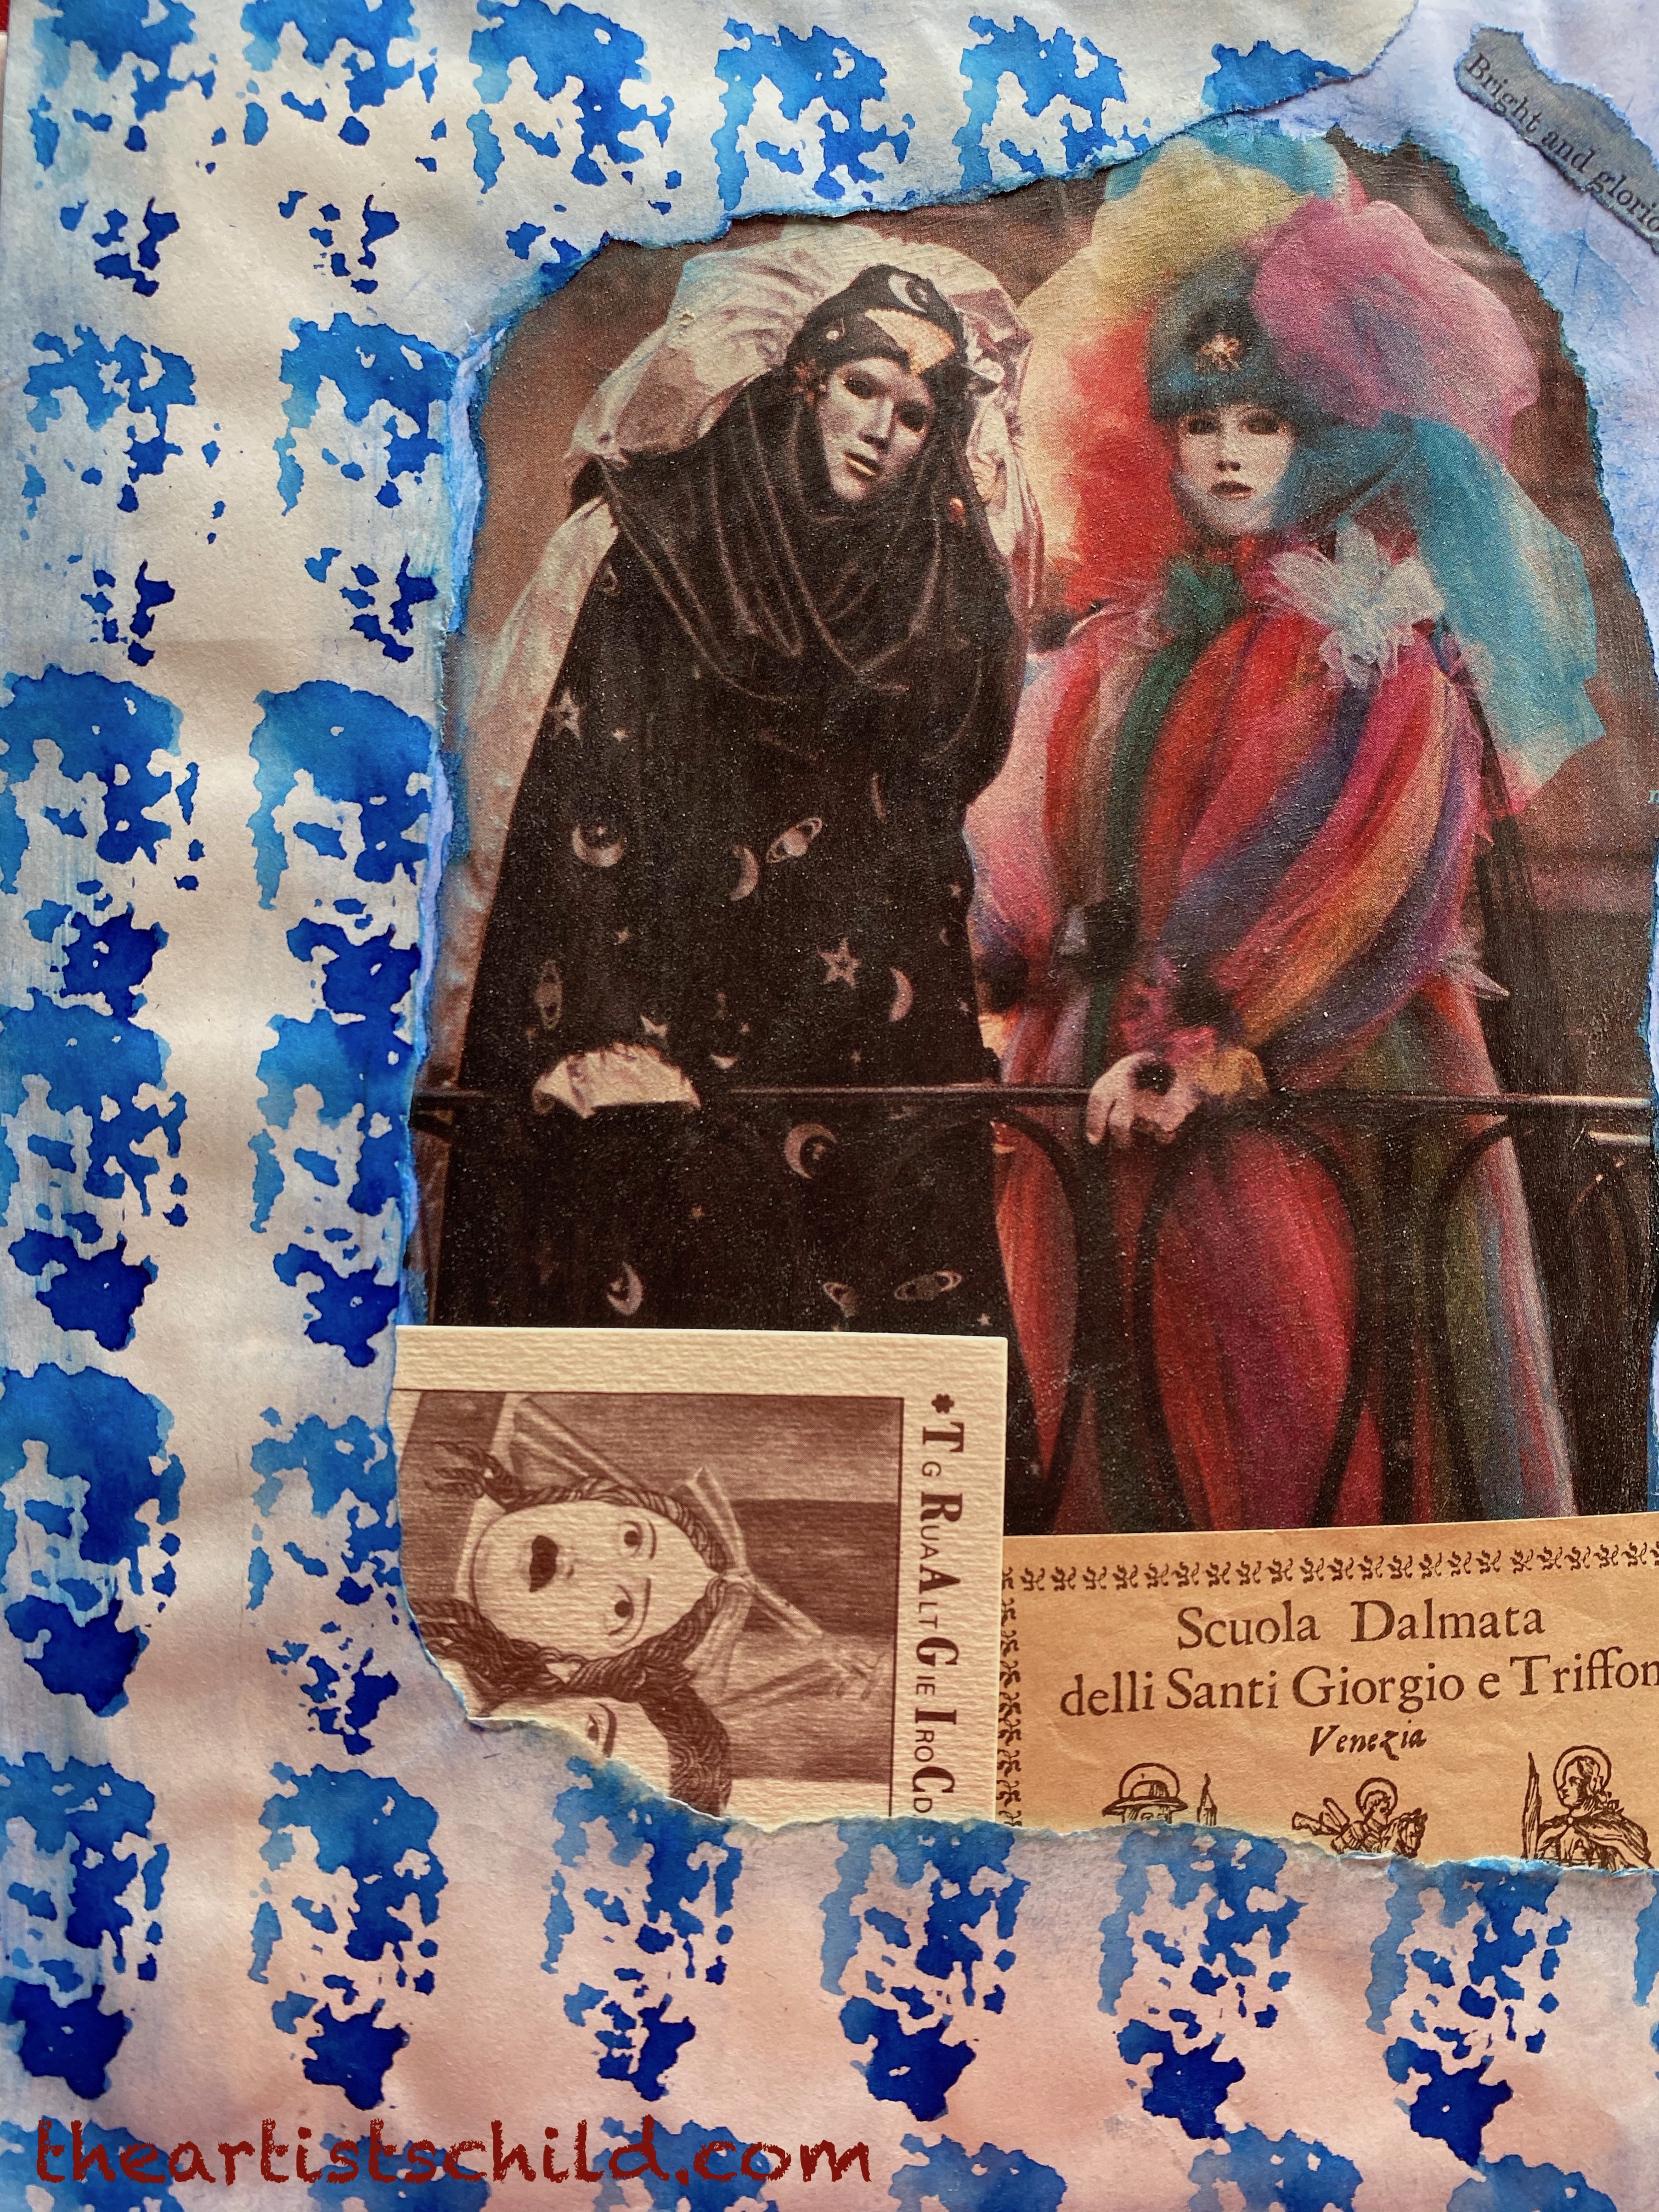
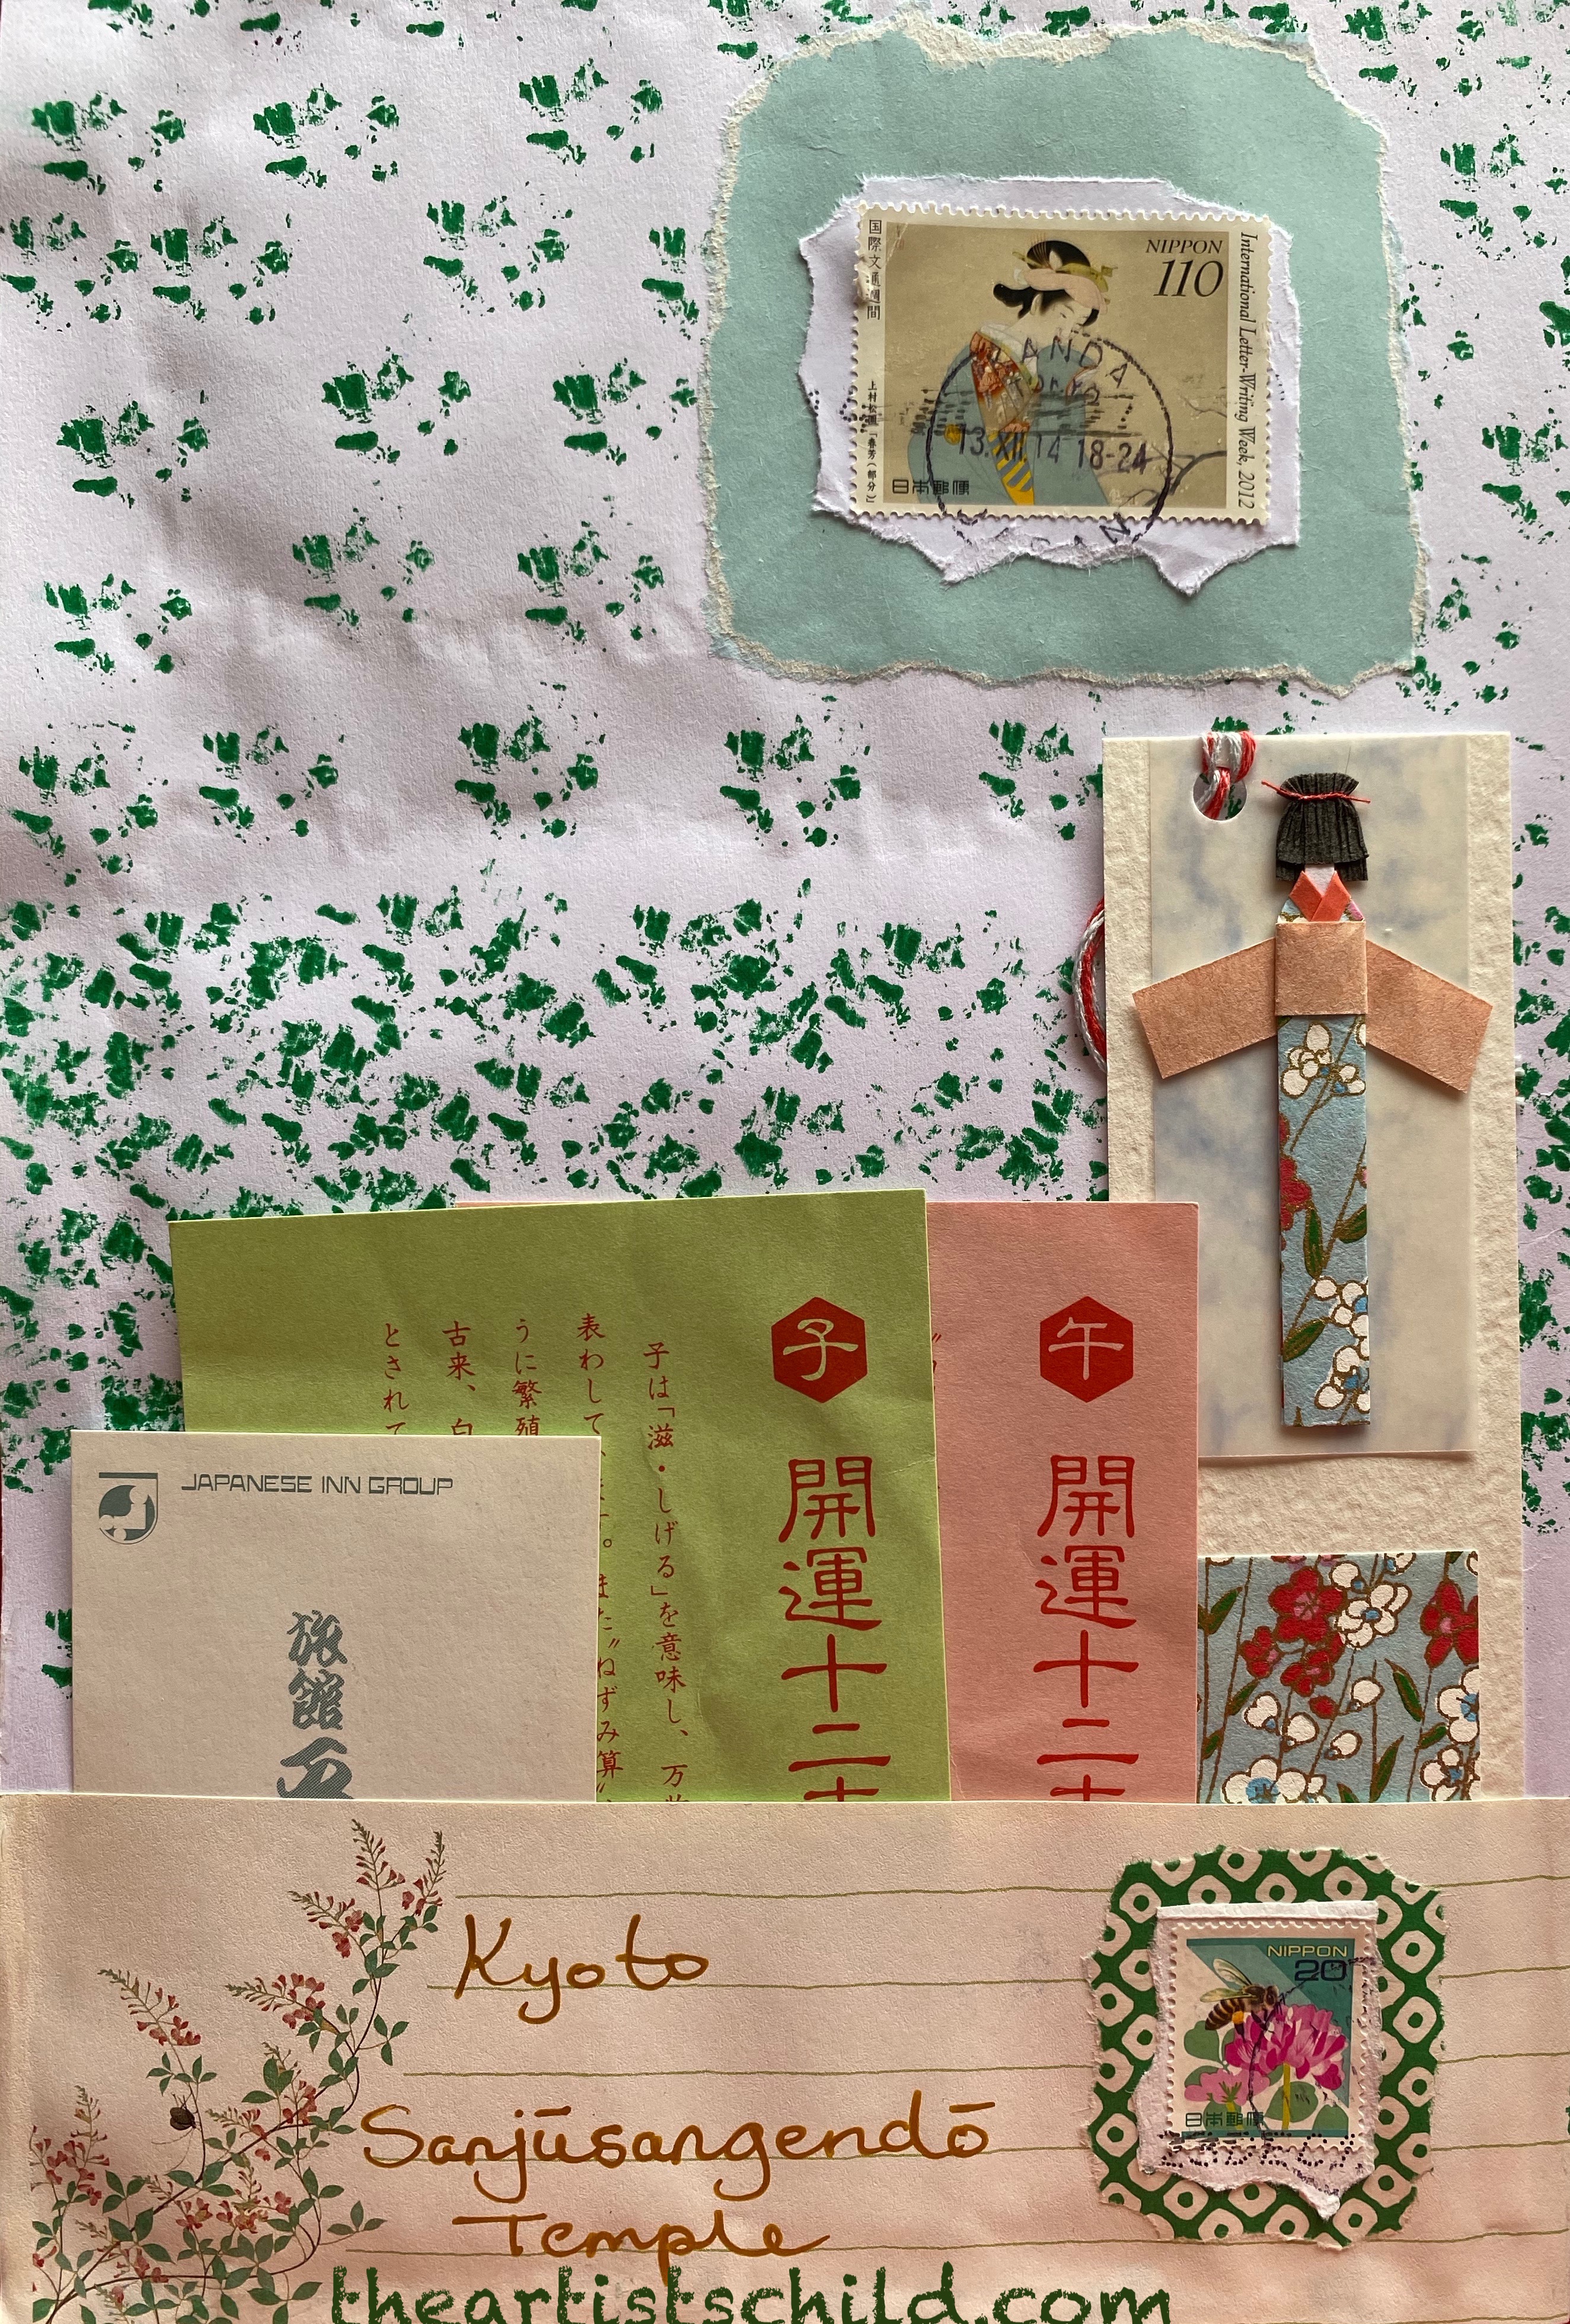
The Bird Painting course reminded me of exercises I had not done since Art School as well as teaching me some new ones. These really help you to loosen up your technique, preventing your work from becoming too precious and allows you to concentrate on the process itself. The following is an example of a couple of these exercises that I completed.
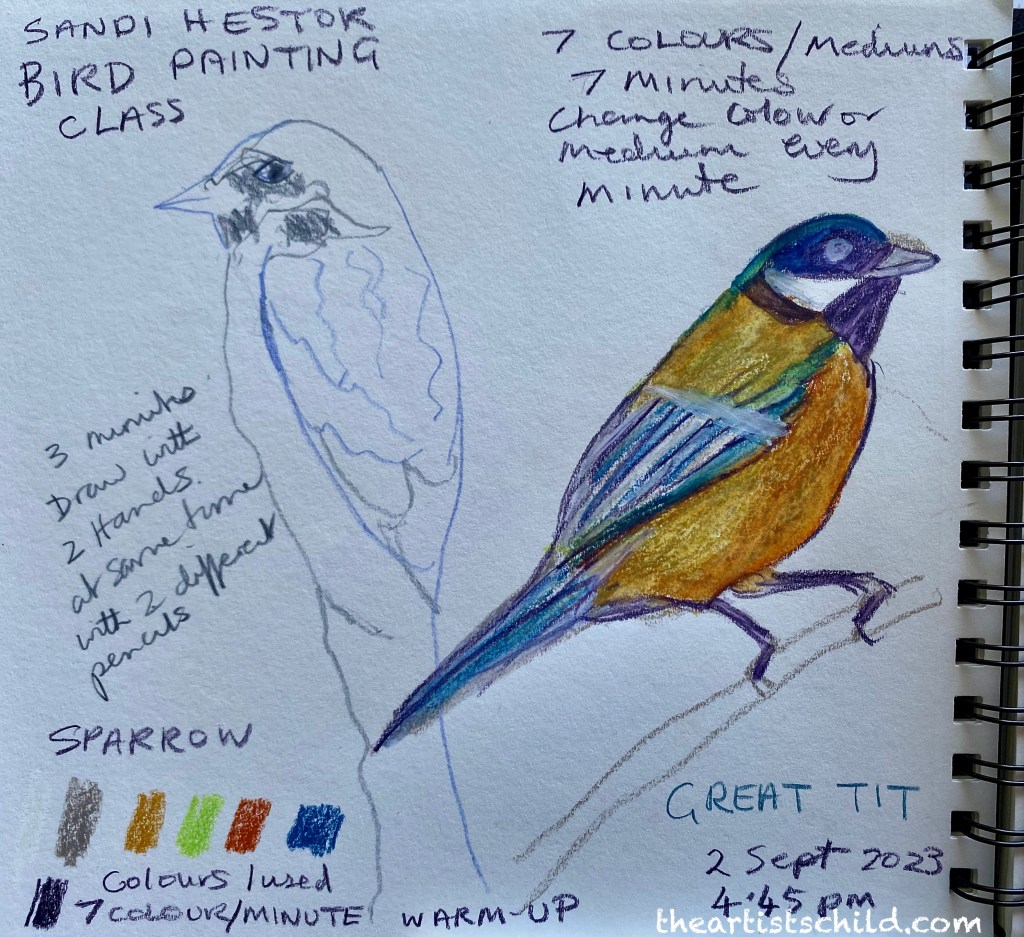
When you are trying to get back you creative flow after a difficult period in your life I have found it helpful not to put any pressure on myself by showing anyone my work. It is not about doing perfect or finished artwork for an exhibition and it does not matter if you do something that is not up to your preferred standard. It is more about experimenting for yourself, even if it is only for a five minute session and getting back into the creative process one small step or mark at a time.
Dogs are wonderful companions in life and I will always do my best to help them when they have problems. While we accept that it is not great to allow your dog to excessively bark and some intervention was required for our own sanity and the comfort of our neighbours, it is always better when everyone can discuss such issues in person. Anonymous notes are not the way to go with complaints and create distrust between neighbours. While any type of dispute is quite unsettling and can affect your creativity for some time, there are always solutions that will mitigate the situation and techniques that can bring back your creative flow.
Happy creating, Kat.
When the sun is shining it is time to get outside and enjoy life with your dog. For inspiration here is a fun version of Walking the Dog performed by Roger Daltrey in 1975.